This article aims to create the dentist to carry out the reverse planning for making the 3D Design of a single crown with the presence of artificial gingiva to cover aesthetic gingival papillae using the SmileFy App facilitating the workflow and increasing overall outcome and predictability.
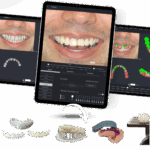
The 3D single crown and gingiva can be designed chairside while next to the patient for instant feedback, easily exported, and sent to the dental laboratory, where they can import it in any CAD software to biocopy the Design to create:
Surgical implant guide
Crown temp for immediate loading
Final crowns with artificial gingiva
To create your single crown and artificial gingiva design using smilefy, the process is simple:
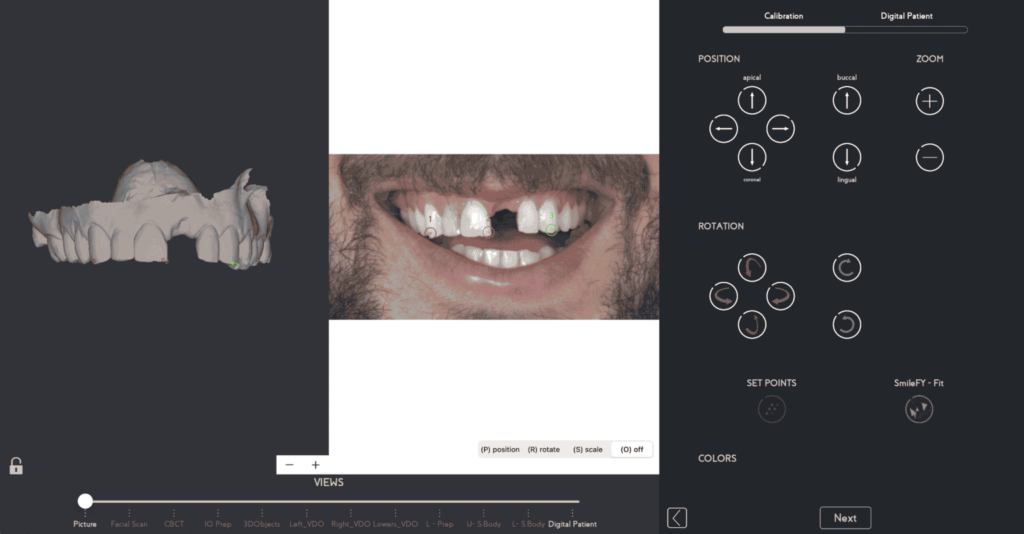
You upload the patient’s photo and the upper and lower arch and superimpose (calibrate) them to begin your facially generated reversed treatment plan. (Fig.1)
Pro Tip: – The photo can be taken with your DSLR camera or even with your SmileFy iPhone or iPad;
– When saving it, make sure to save it in occlusion to upload the files into SmileFy without including the bite registration files.
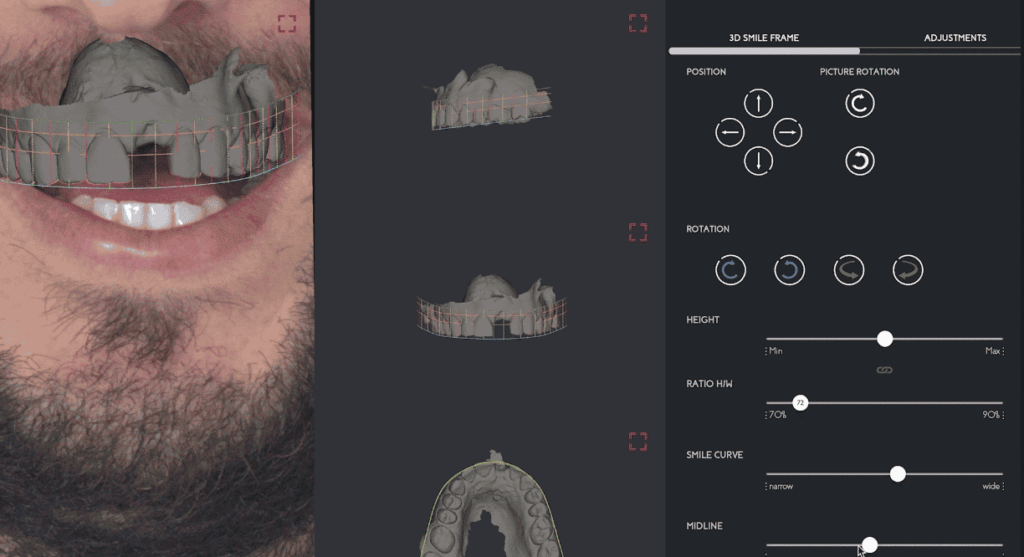
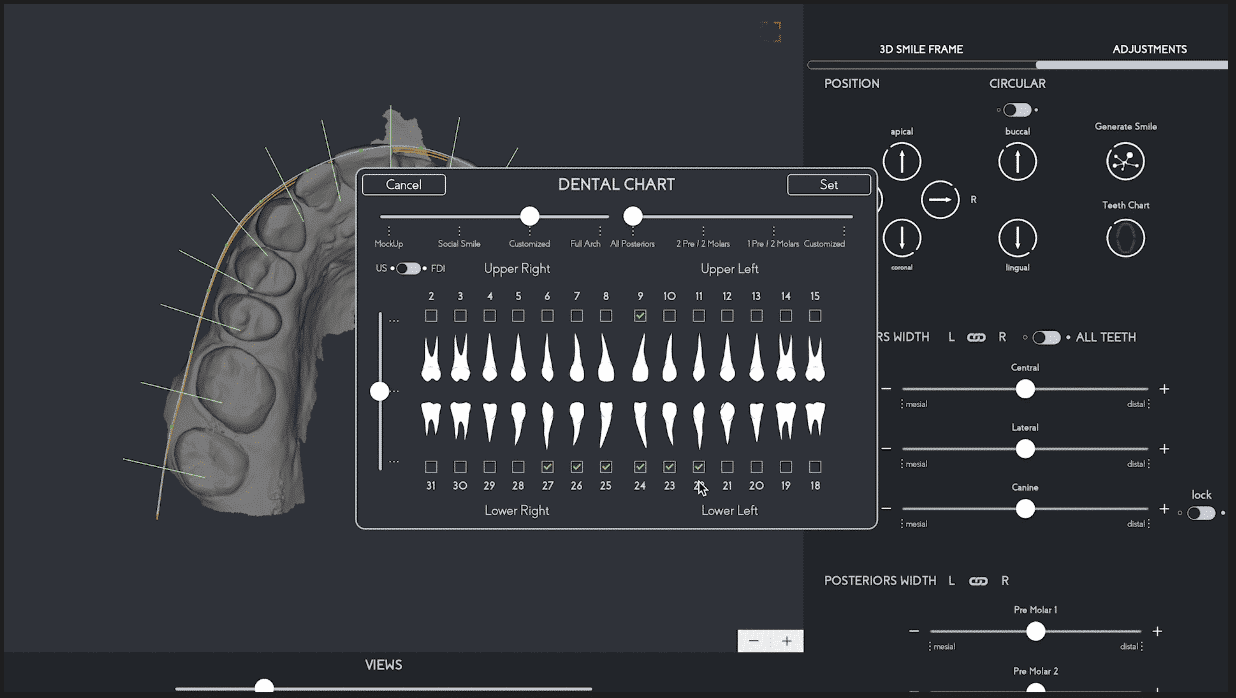
A 3D smile frame first outlines the patient’s intraoral scan, then sets the future 3D teeth positions, width, height, and midline. Then the number of teeth for this case can be selected and automatically placed onto the STL to begin the design. (Fig.2,3)
(Fig.2 3D Smile Frame helps you set the proportions of the future 3D teeth template)
(Fig.3 After pre-setting the proportions, Dental Chart lets you select from a single unit to the entire arch to automatically create the digital wax-up.
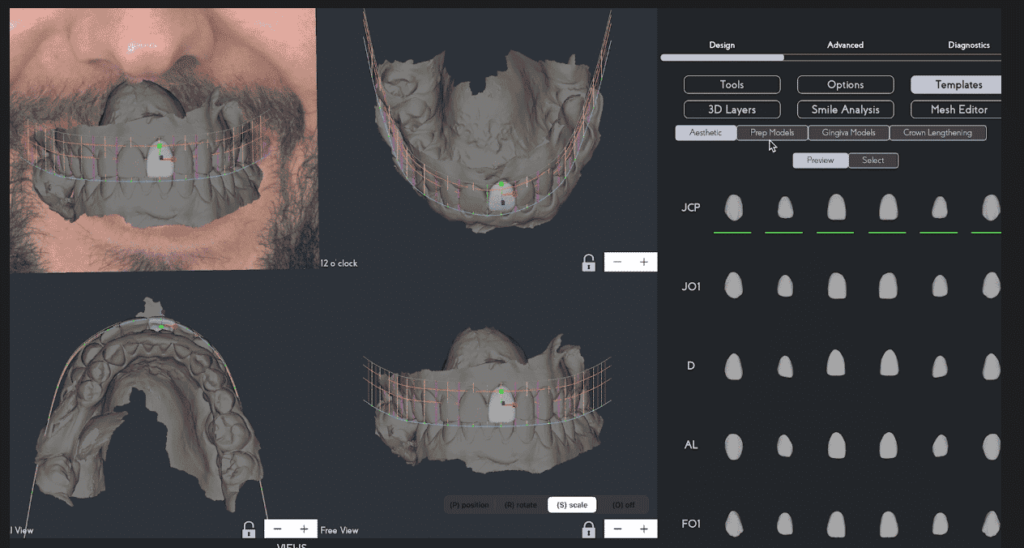
The vast selection of natural-looking 3D teeth templates can be tried on virtual diagnostic wax-up and fully adjusted in proportion and form. (Fig.4)
Note: To ensure the quality of the design, different views of the 3D project are accessible, allowing the smile designer to move the tooth and have a visual reference of its position from various angles and the buccal volume of the anterior teeth.
(Fig. 4 – 3D Teeth Templates with Natural Morphology)
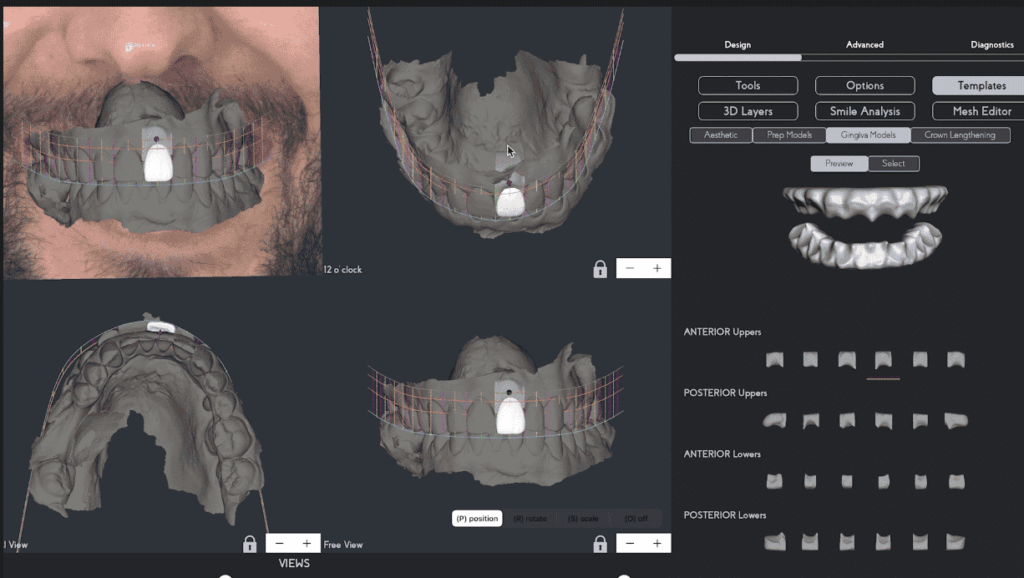
Once the 3D tooth is selected, the 3D artificial anatomical gingiva architecture is selected and applied to the design. ( Fig.5)
(Fig. 5 – 3D Gingiva Templates with Natural Morphology)
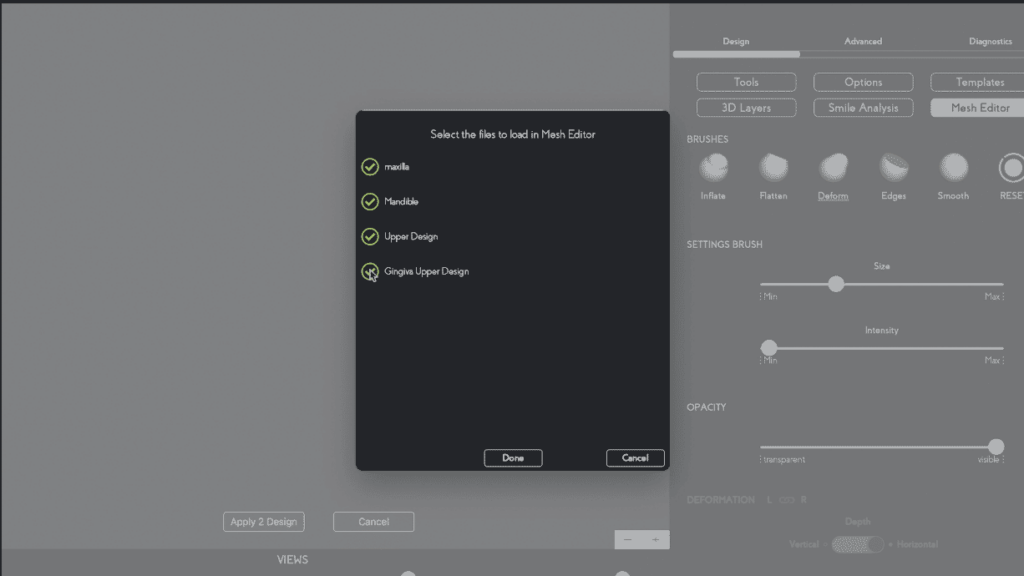
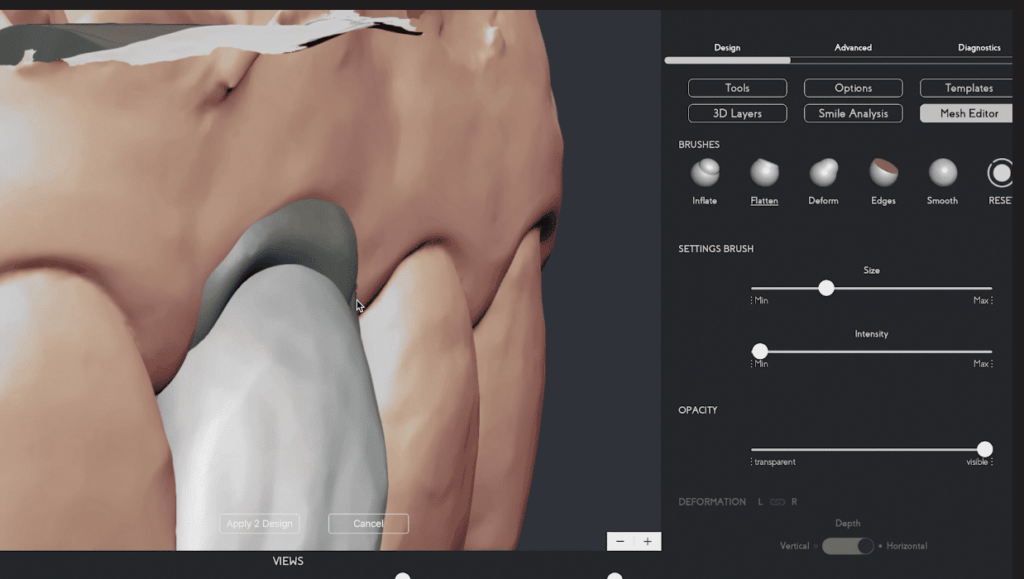
To have artificial gingiva with a natural contour that fills all the negative space given to bone loss, we use the mesh editor tool of SmileFy. The Mesh Editor is a free-hand digital wax-up made to help the designer check the contouring of the teeth design, contact points, and the restoration’s thickness. It also allows you to add or remove excess of the Design before exporting, giving its contour to the artificial gingival region. ( Fig. 6,7)
( Fig.6 – Choose what files you want to edit in the Mesh Editor Tool)
( Fig. 7 – Fully customize the 3D gingiva according to each individual case using the digital brushes)
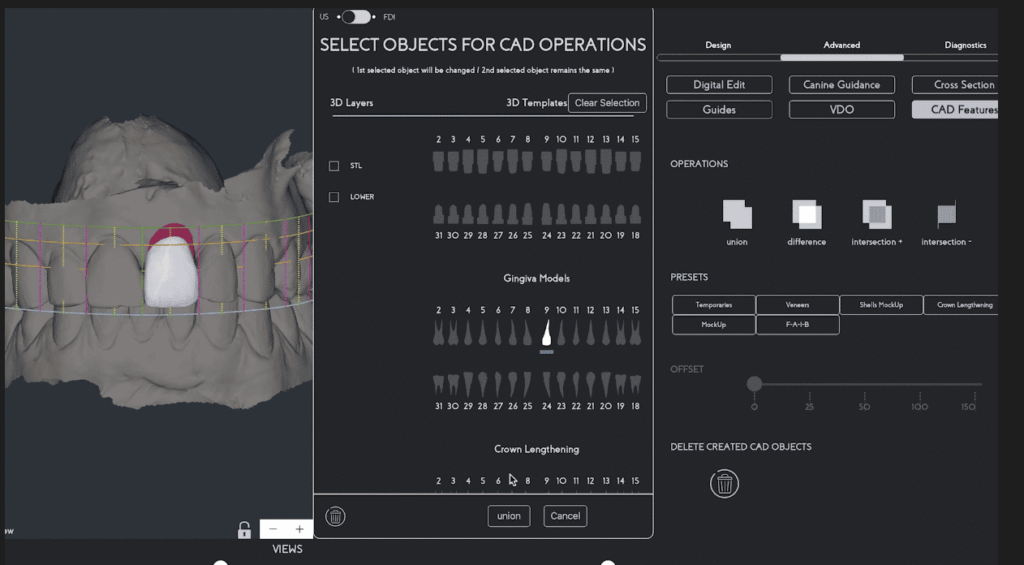
Once ready, the next step is to merge the files for export.
Within the SmileFy software, you can create two fused files so that the dental laboratory technician has a better reference to perform the biocopy of the file:
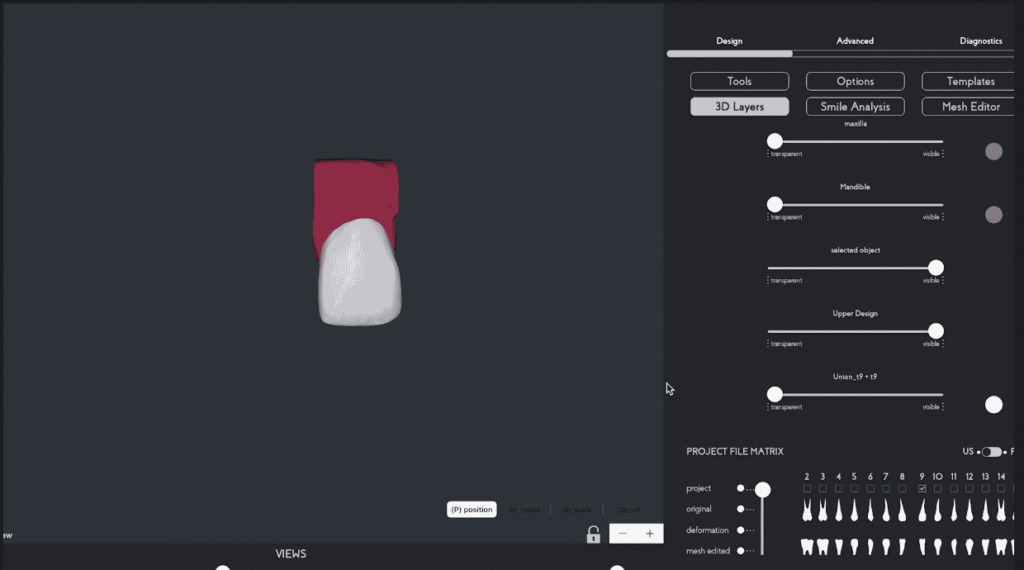
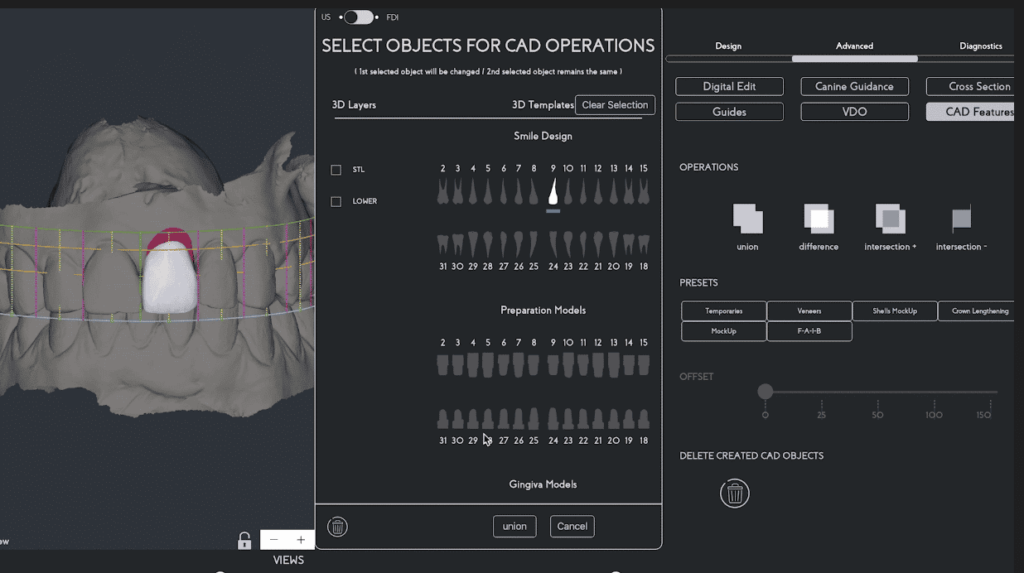
The tooth and the artificial gingiva file ( Fig. 8A,8B)
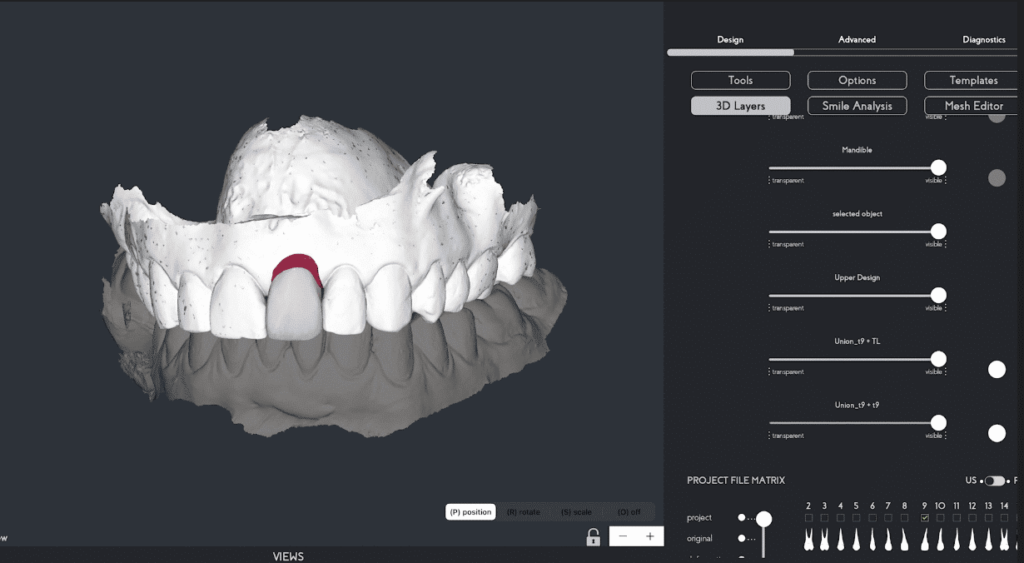
The tooth, the artificial gingiva, and the upper intraoral scanner model file. ( Fig. 9A,9B)
(Fig. 8A Union Feature [Fuse], available on SmileFy – The tooth and the artificial gingiva file)
(Fig.8B – The tooth and the artificial gingiva file)
(Fig. 9A Union Feature [Fuse], available on SmileFy – The tooth, the artificial gingiva, and the upper intraoral scanner model file)
(Fig.9B – The tooth, the artificial gingiva, and the upper intraoral scanner model file)
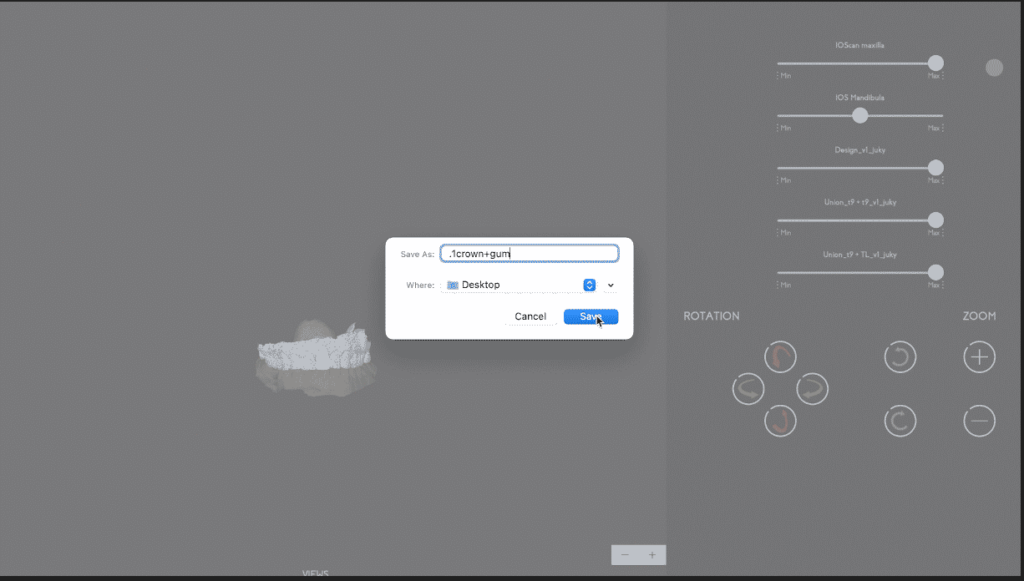
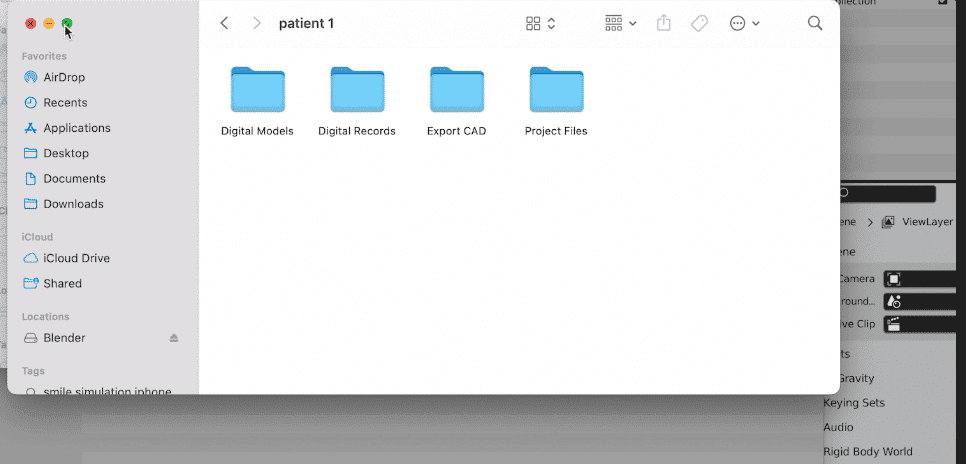
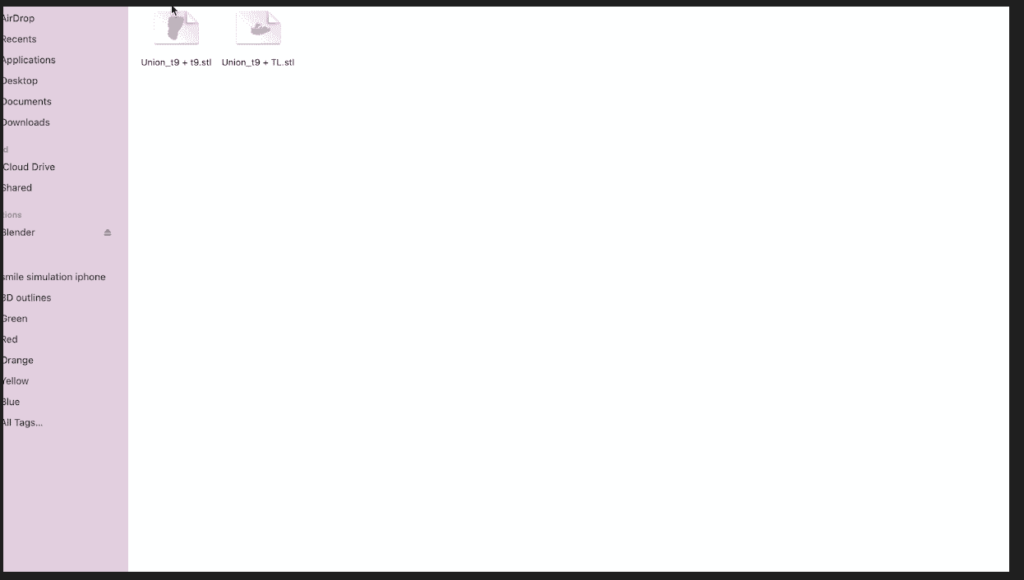
Export your files as .STL and send them to your lab or other places via email or any other method you desire. ( Fig.10A, 10B, 10C)
( Fig. 10A – Easy exports from SmileFy. All files are exported as .STL files)
( Fig. 10B – Easy exports from SmileFy. All files are exported as .STL files along with all original and edited files separated for any type of workflow)
( Fig. 10c – Easy exports from SmileFy. All files are exported as .STL files)
With these files, it is possible to continue the digital dental path for manufacturing surgical implant guides, Crown temp for immediate loading, and final crowns with artificial gingiva.
The use of chairside methods for planning the 3D Design of crown and artificial gingiva makes the workflow more assertive and the communication with the patient and the dental laboratory more efficient.