

Case Report Information
- Case Report by Dr. Jean Van Lierop | Dentist
- Information
The amazing Dr. Jean van Lierop, South Africa, highlights how to utilize SmileFy Software to elaborate precise gingivectomy guides according to the in-office digital planning and how to create 3D printable composite veneer models in the second stage of the treatment following the initial digital smile design plan.
Taking the Benefits of Designing and Planning Smiles in-office
Assisting dentists in their workflow, In-Office Digital planning for indirect/direct composite veneer techniques has several benefits, including reducing the overall lab cost, increasing accuracy, and shortening the chairside time.
Dr. Jean van Lierop, South Africa, highlights how to utilize SmileFy Software to deliver visual communication planning with your dental lab to elaborate precise gingivectomy guides according to the in-office digital planning and how to create 3D printable composite veneer models in the second stage of the treatment following the initial digital smile design plan.
By using the injectable composite resin technique, Dr. van Lierop shows how to accurately biocopy the natural-looking teeth shapes of his patient's six upper anterior teeth.
Stage 1: Patient Communication
Chairside Smile Simulation is highly recommended during the initial consultation. This tool enables you to present potential outcomes to your patient and help them understand the importance of various dental cosmetic procedures. In this instance, it was determined that crown lengthening and cosmetic, restorative procedures were necessary to enhance the shape and size of the tooth and close the diastema with direct resin chosen for this treatment outcome.

Stage 2: 3D Smile Design and Lab Communication for Crown Lengthening Performance
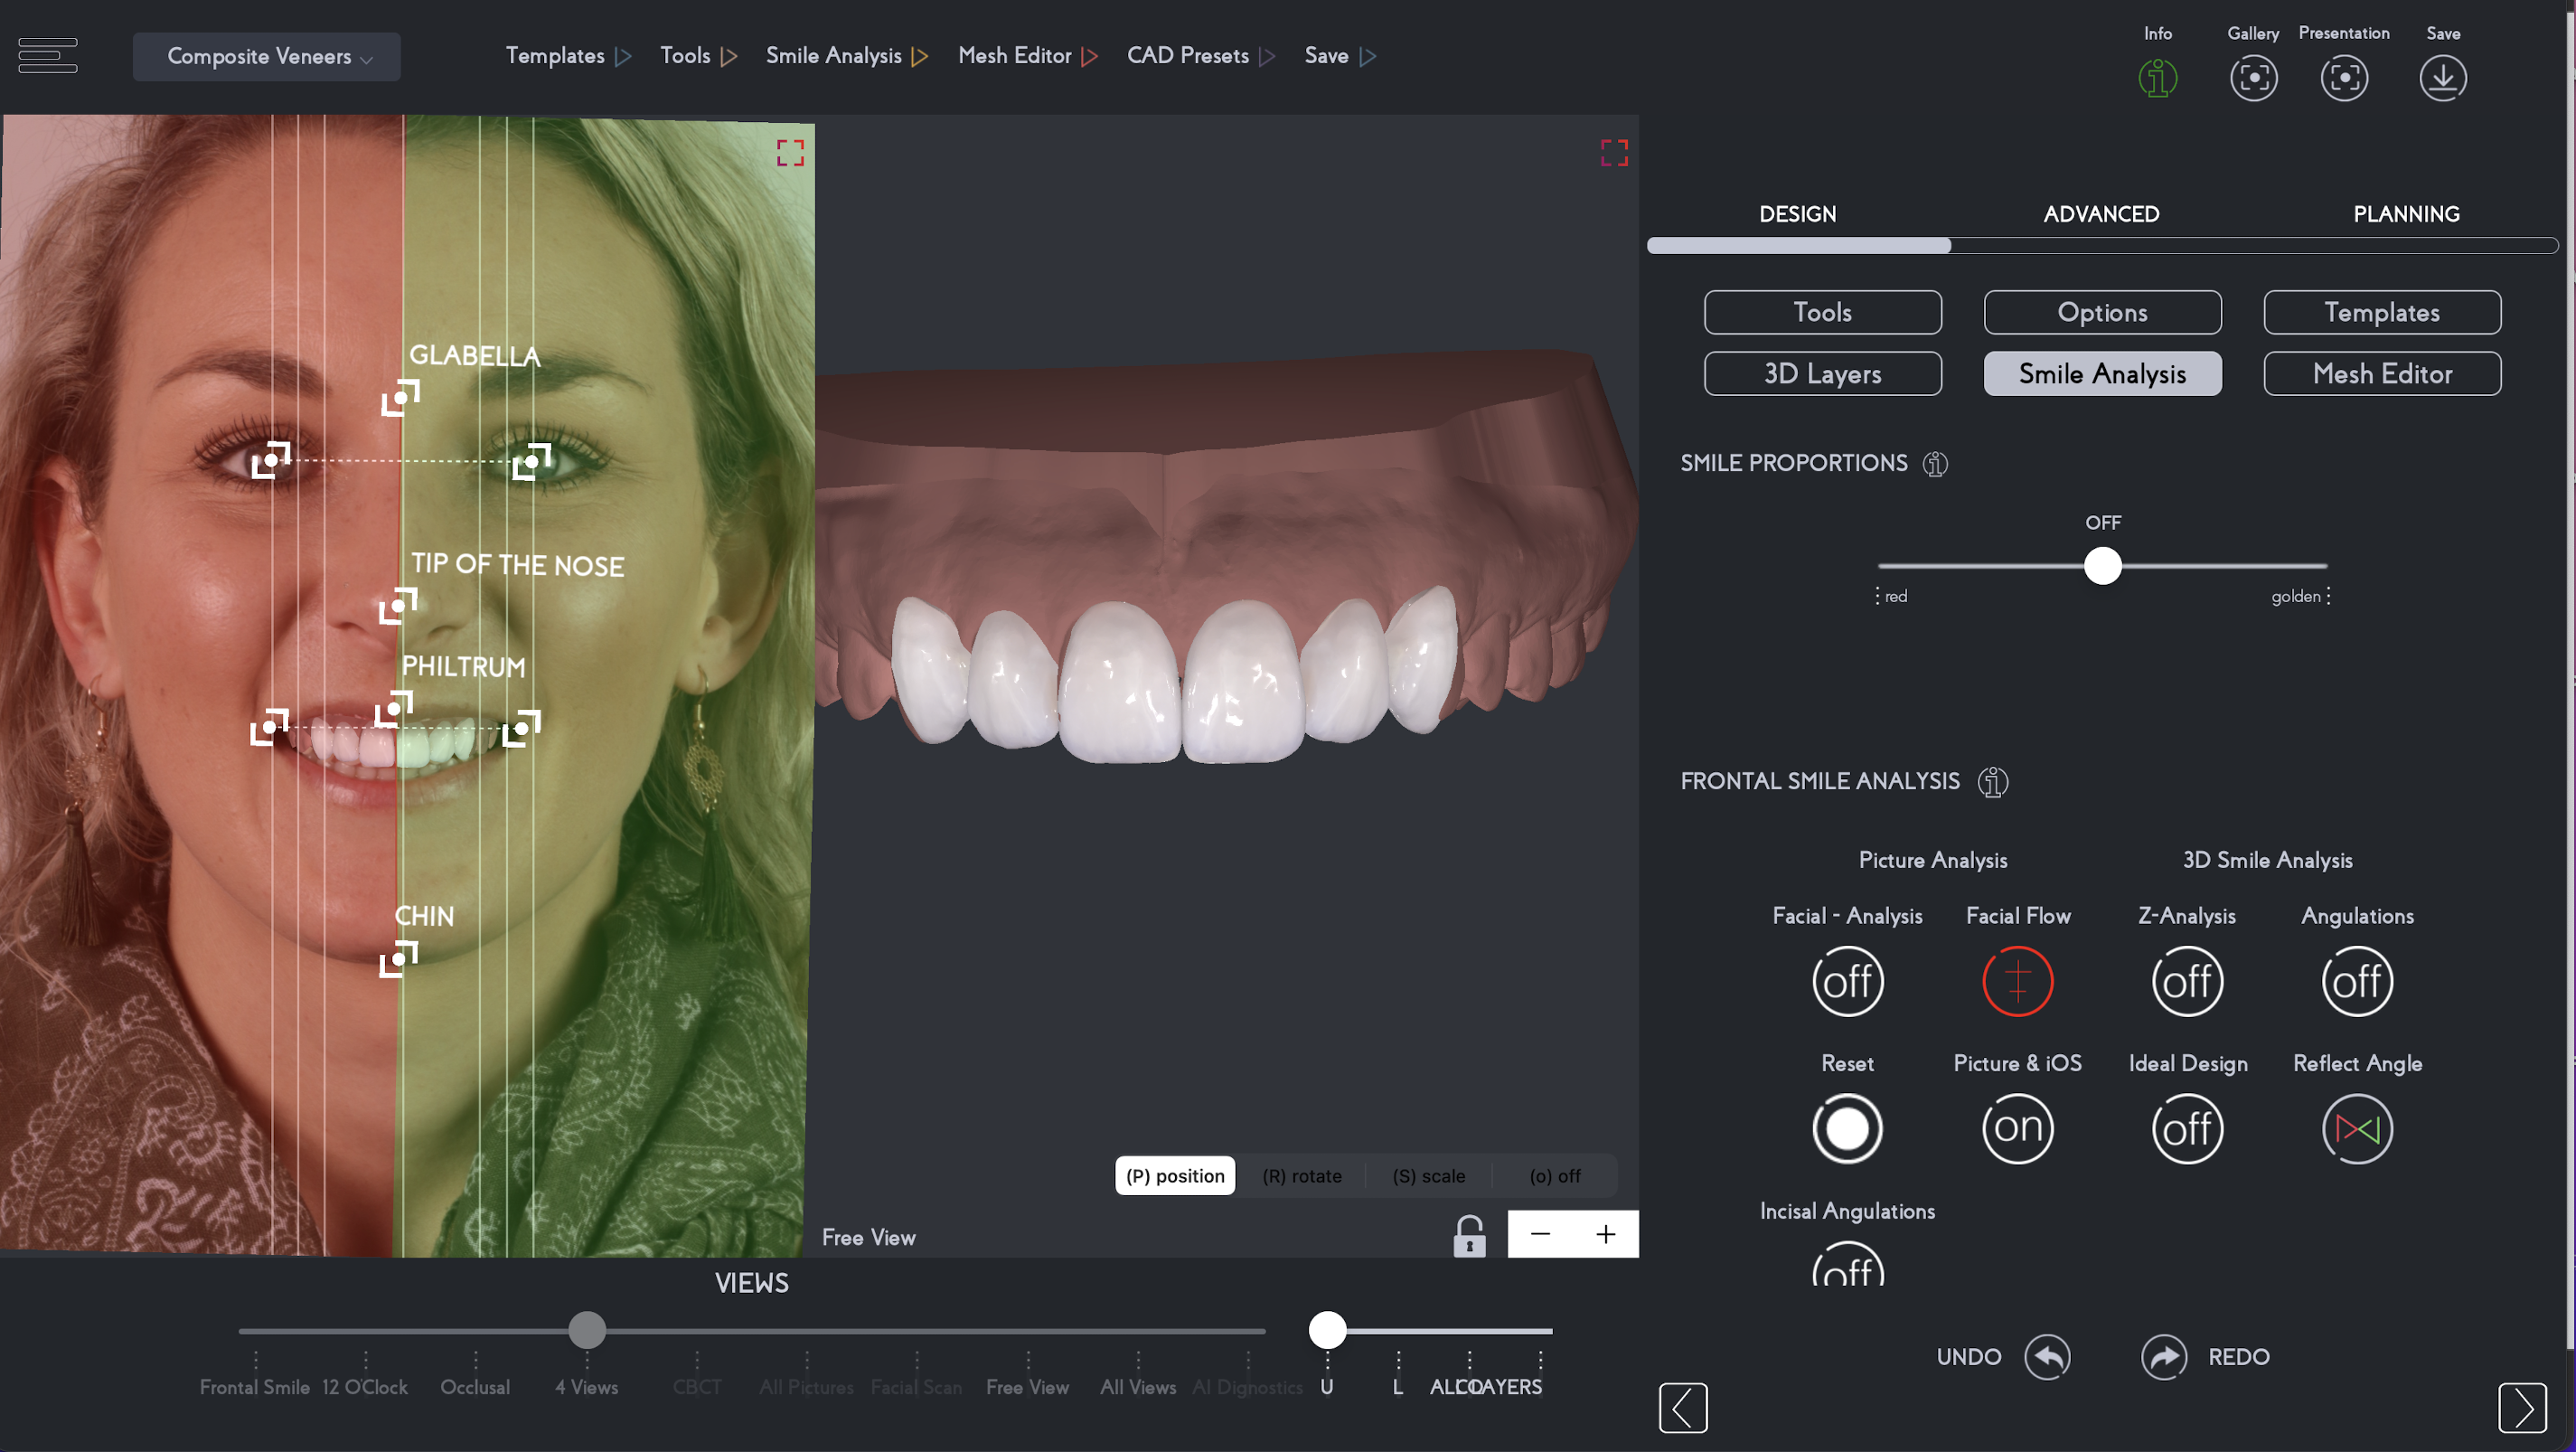
A 3D Smile Design was created in the SmileFy Software, guiding the lab technician to create a surgical stent based on the teeth' shape and proportions created in the software by the dentist. The visual information and clinical findings were passed on to the lab
technician and a surgical stent was created to guide the CRL using the agreed design.

Stage 3: In-Office 3D Smile Design for Anterior Composite Veneers
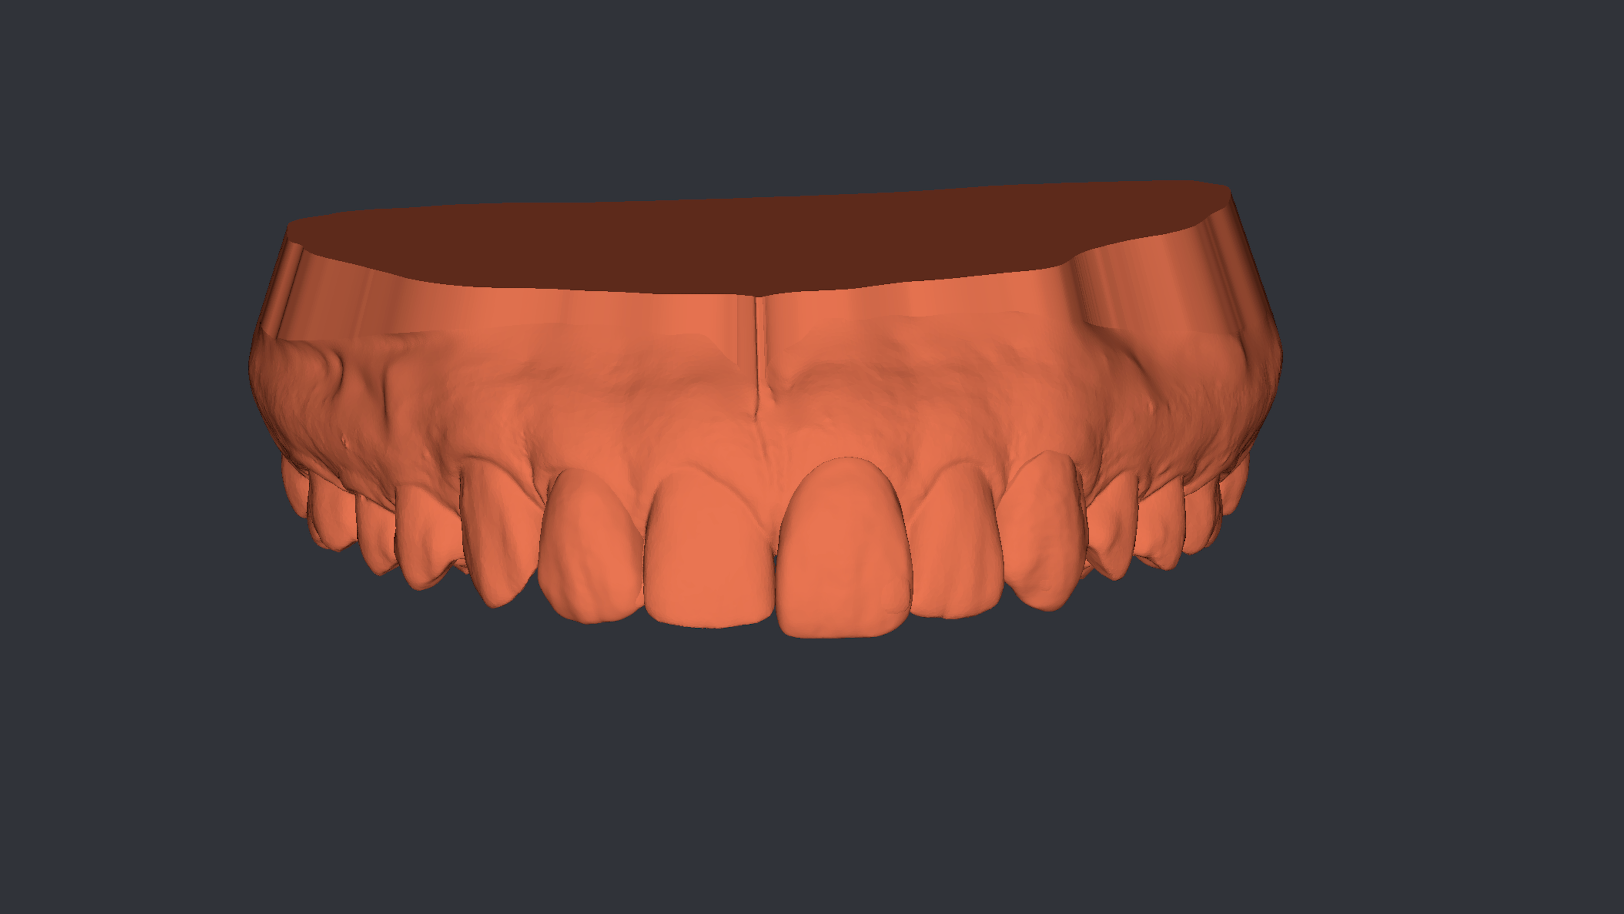
Two months post-surgery, new photos and intraoral scans were taken and added to the SmileFy
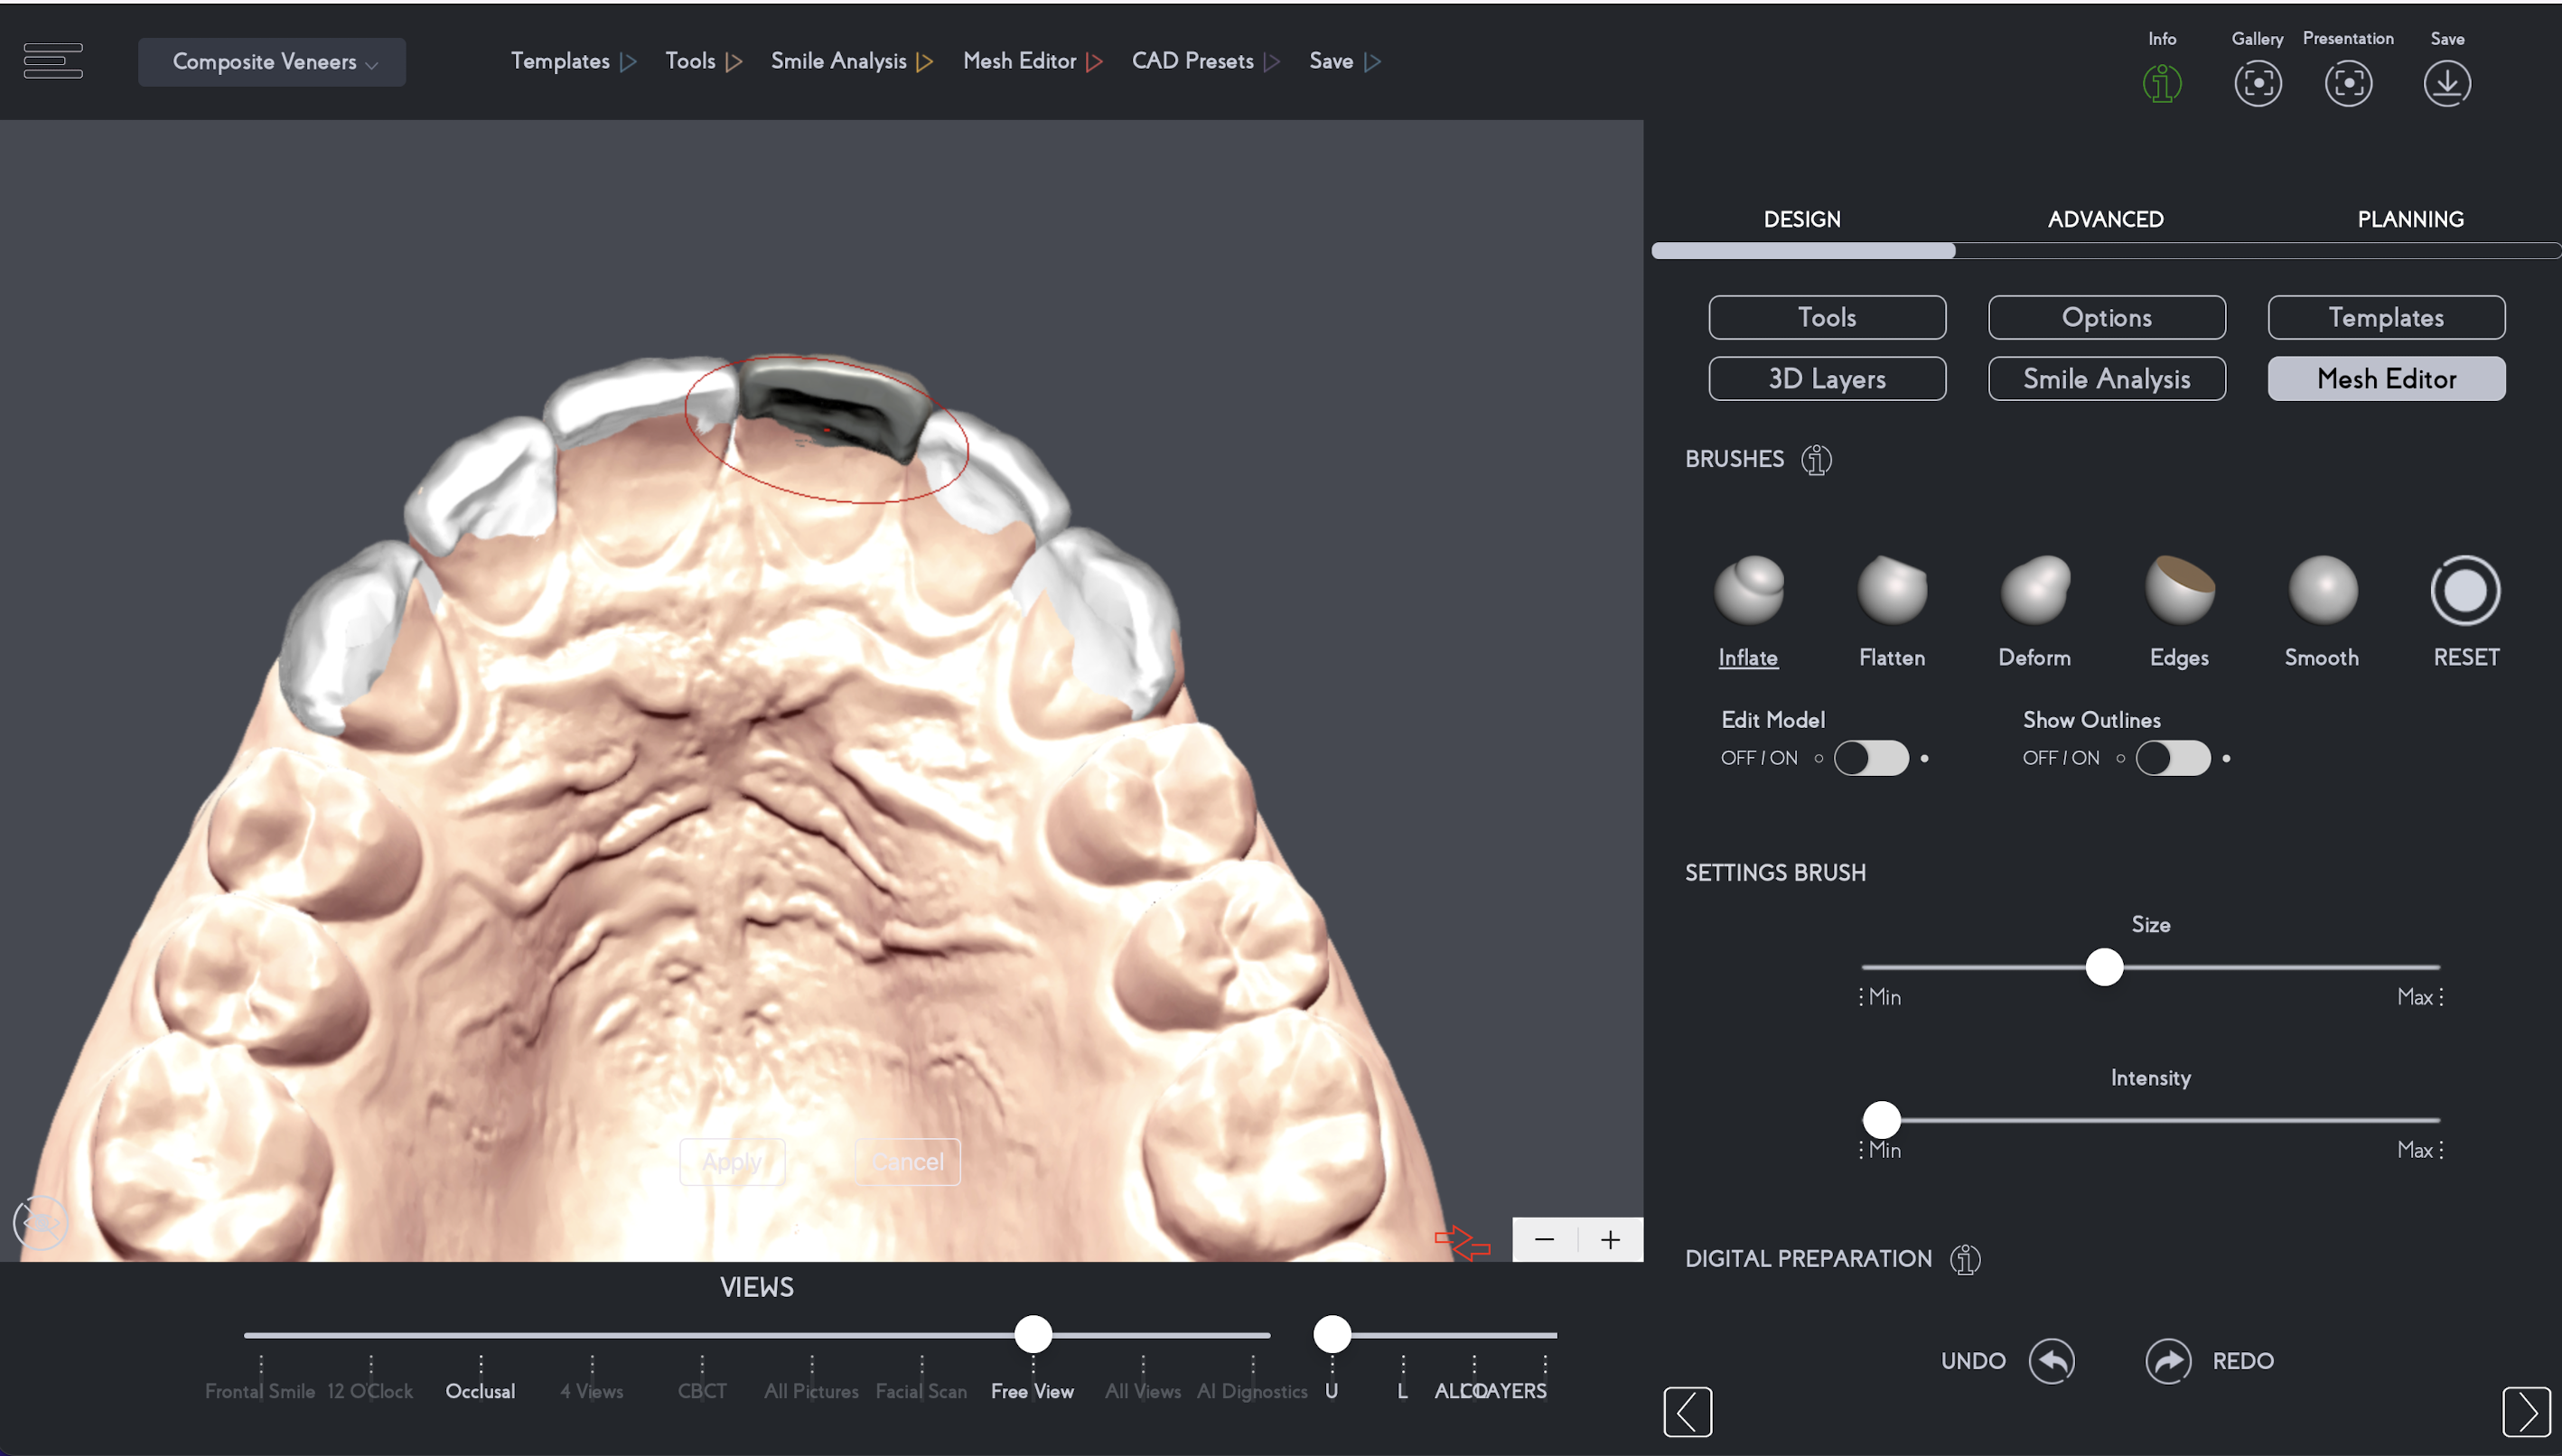
App to update the original 3D design. The emergence profile and final shapes were tweaked to accommodate the post-surgery soft tissue shapes, maintaining accuracy to its original treatment plan regarding shape and overall esthetics of the smile initially discussed with the patient.


Book a session with us to learn how to use SmileFy like a pro!
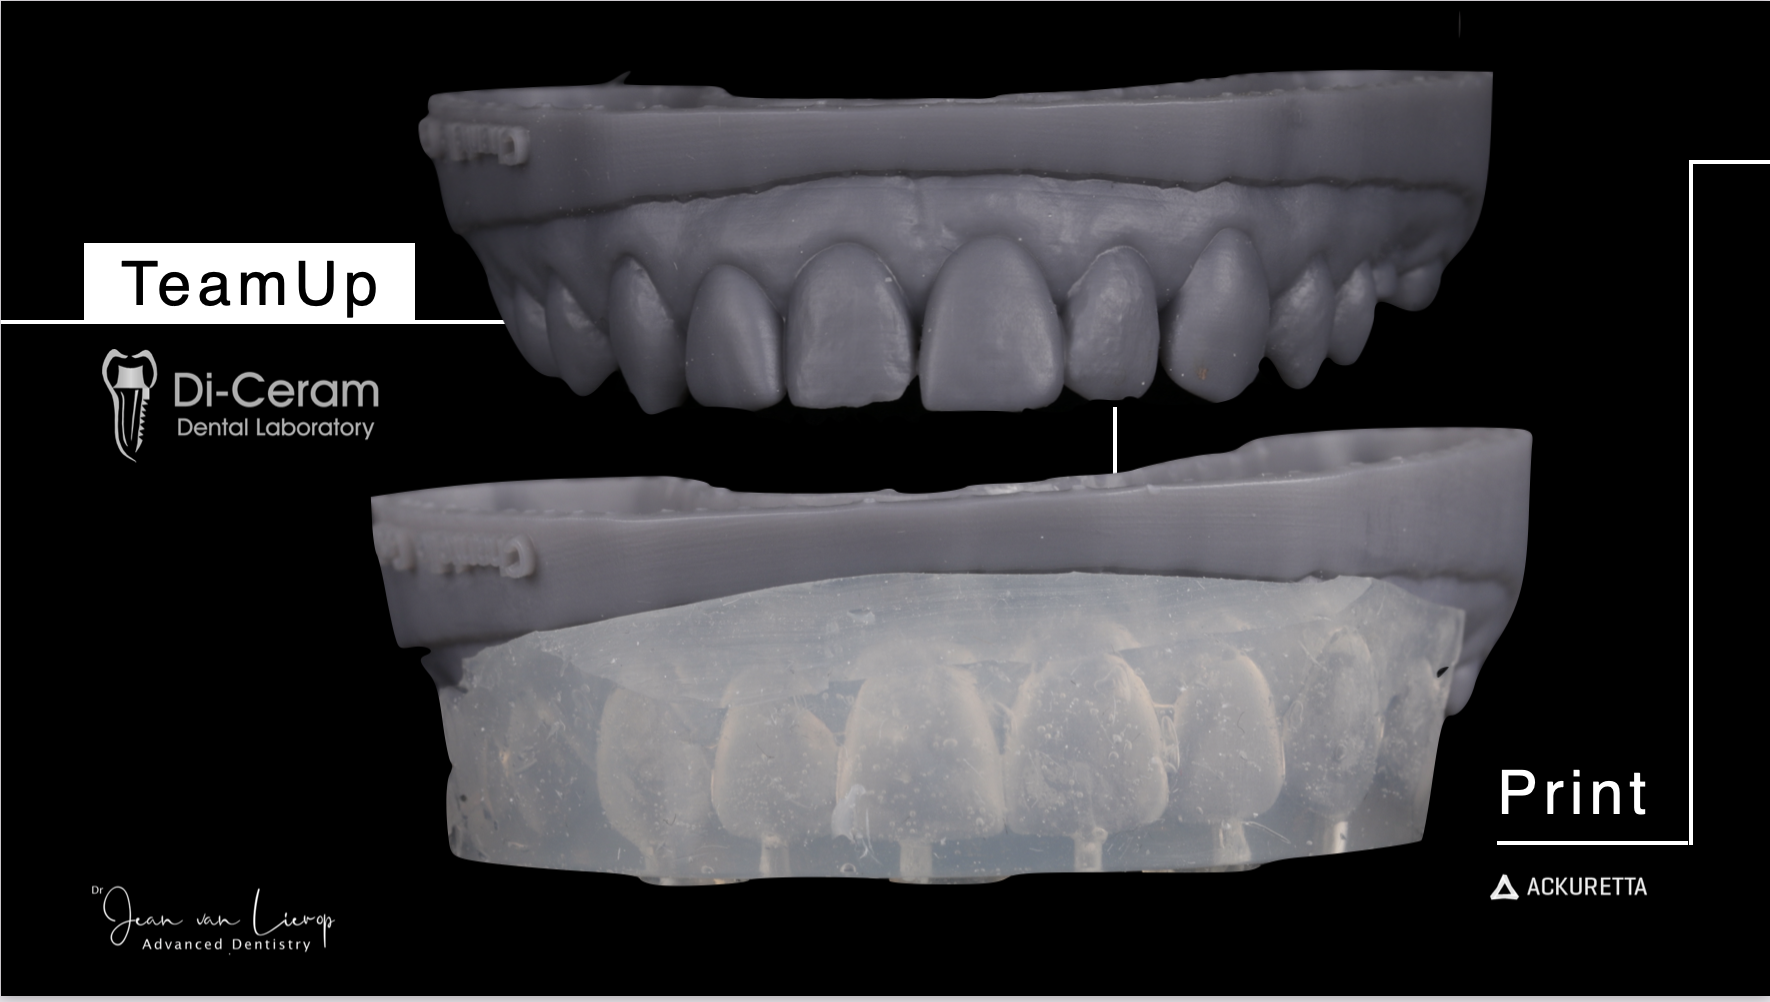
The design work was shared directly with the laboratory using the Team-UP feature available within SmileFy, and two models were printed for Injection Molding (alternate models)

Note:
After you create the 3D Smile Design, the SmileFy App automatically generates two files for the injection molding technique, a unique feature available to its members.


Transparent IM guides were made using Affinity™ Crystal Clear Matrix Impression material.
Stage 4: Clinical implementation of the digitally planned indirect/direct Anterior Composite Veneers
- The design was again tested, and the patient agreed to continue with the final bonding.
- Using optragate by Ivoclar, we created relative isolation
- A sectional cord was placed to retract the soft tissue and create exposure of the entire tooth
- surface
- Teeth were cleaned using Air Abrasion 50micron Velopex AquaCare Single Air Abrasion Unit
- Etched and partially isolated using Teflon Tape
- Bonding using 3M™ Single Bond Universal Adhesive
- Light cured
- IM using GC G-aenial Universal Injectable – A1 Shade
- Finishing and polishing using ULTRADENT Jiffy Polisher Cups
- Occlusion and guidance were tested


Follow-up
was completed one week after treatment

Patient Satisfaction
The patient was thrilled with the result.

"I was so worried it might look fake or unnatural, but the result is so natural and beautiful. I am so pleased! Everyone loves my new smile!"
