")


Case Report Information
- Case Report byJavier de Lapeyra, DDS
- Information Dr. Javier Lapeyra's Case Report provides guidance on how to use in-house SmileFy 3D dental planning to streamline the dental workflow. This approach can help reduce the turnaround time for ten porcelain veneers that are minimally invasive and designed to enhance the patient's overall facial esthetics. The end result is patient satisfaction.
Introduction:
Using 3D Digital Wax-ups helps you elaborate digital treatment plans better, increasing the accuracy of the esthetic outcomes.
SmileFy, a Digital Smile Design software, has been presented as a tool to strengthen the diagnostic view and improve communication and predictability during treatment. With a simplified protocol, the digital planning presents simple steps to evaluate the teeth’ size, shape, and position of the gingival and incisal contours, creating a print-ready model to test and evaluate in the patient’s mouth to ensure higher predictability in the workflow.
This workflow with SmileFy is efficient, especially when treating teeth esthetics in patients with high demands, reducing doubts and disappointments, and generating confidence in them.
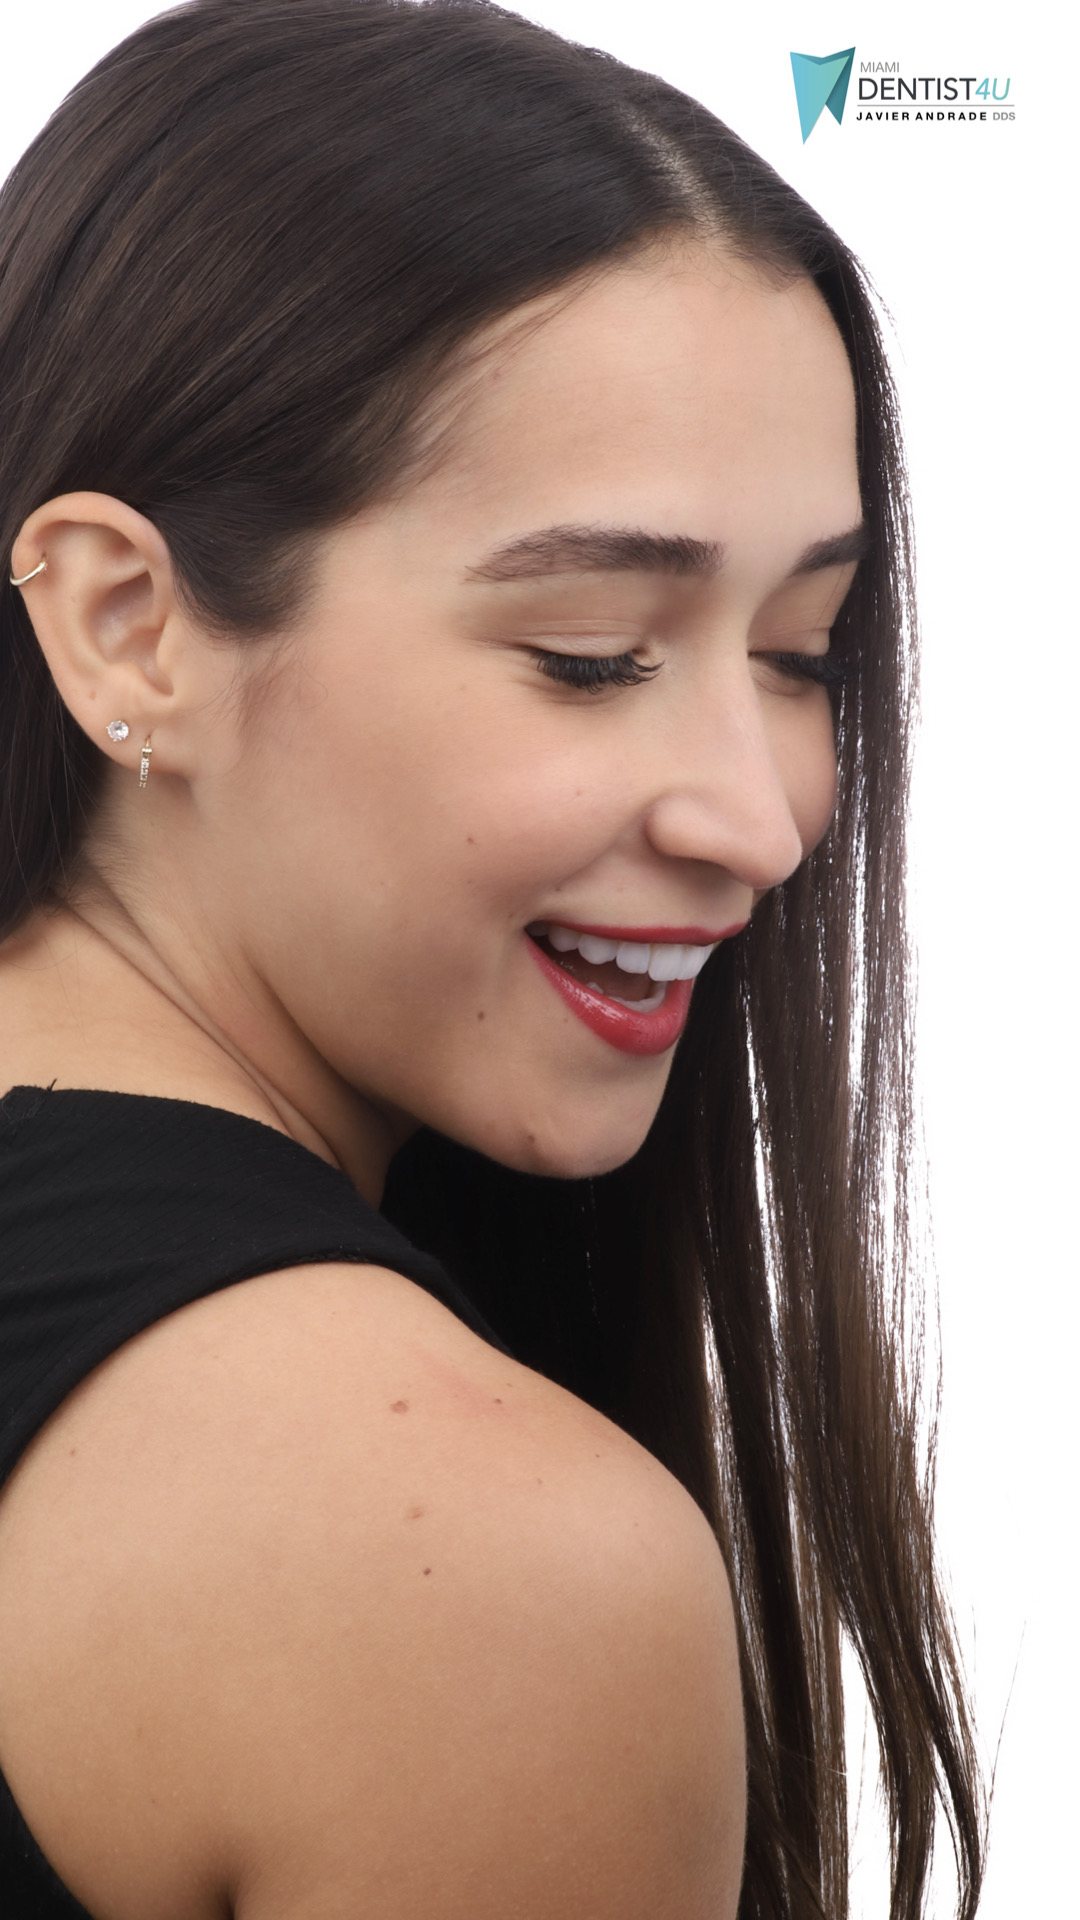
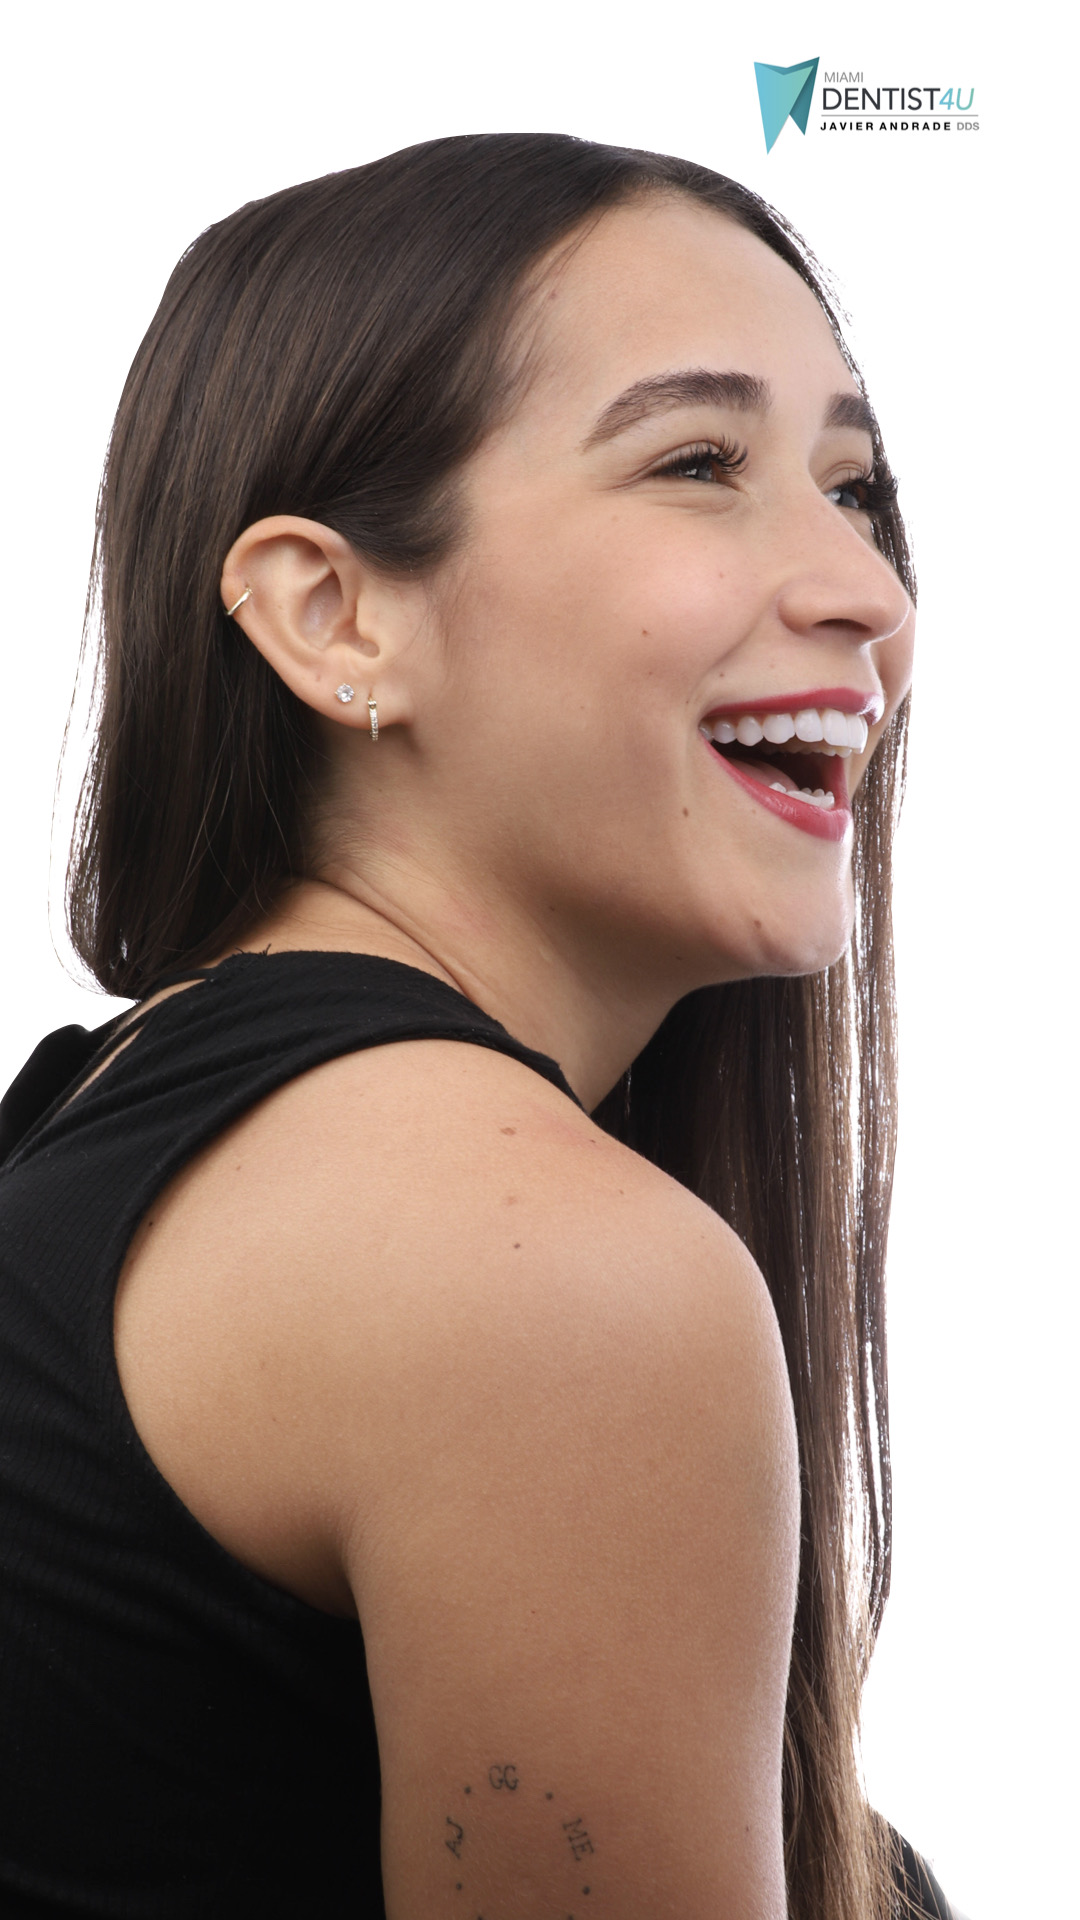
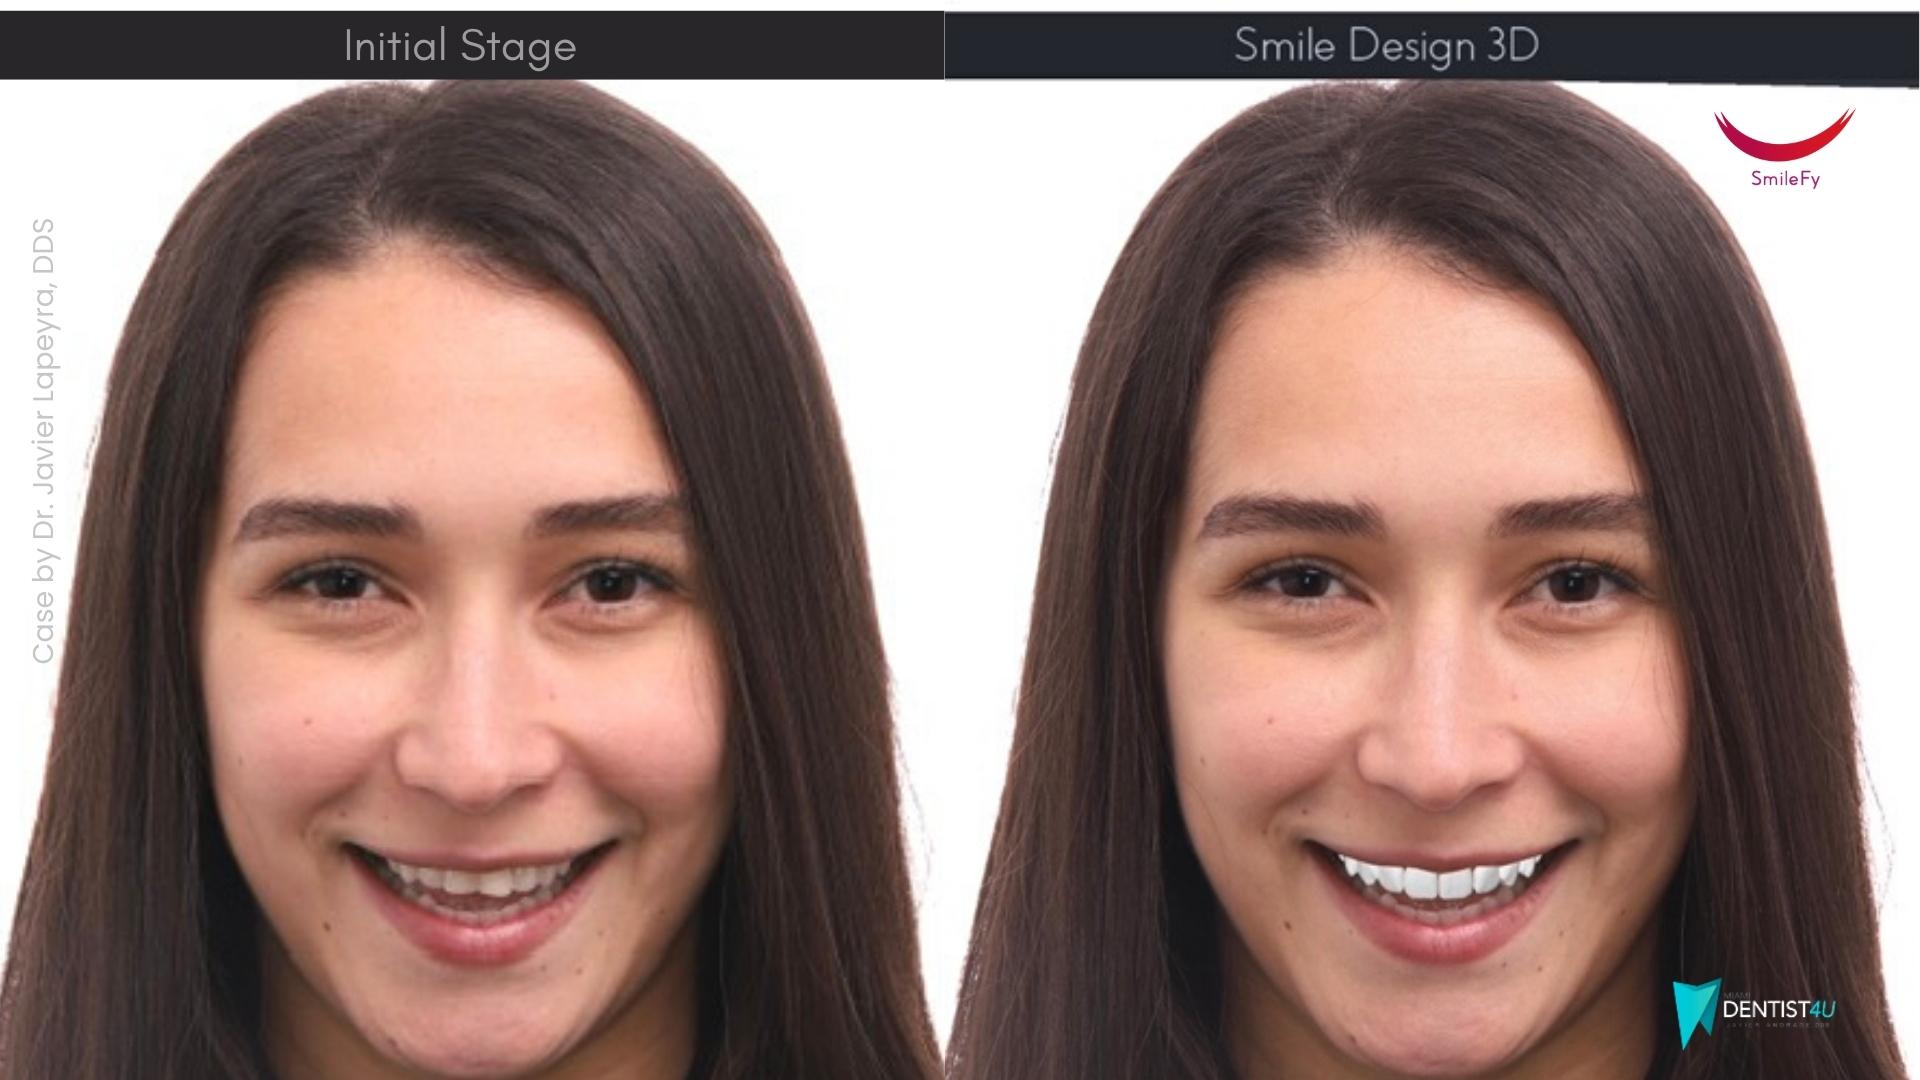
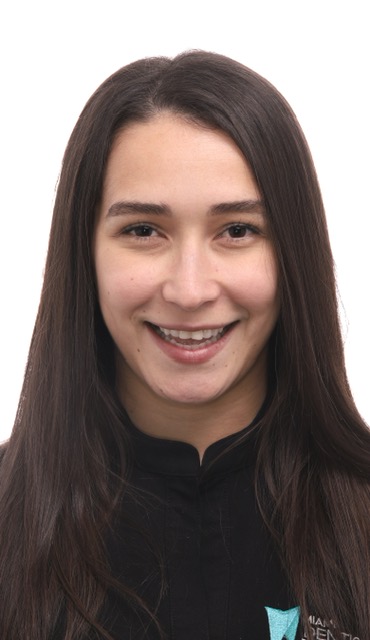
1- Initial Condition
A young adult female patient came to Miami Dentist4u Dental Office in Miami, United States. The patient expressed dissatisfaction with her smile being worn. (1)
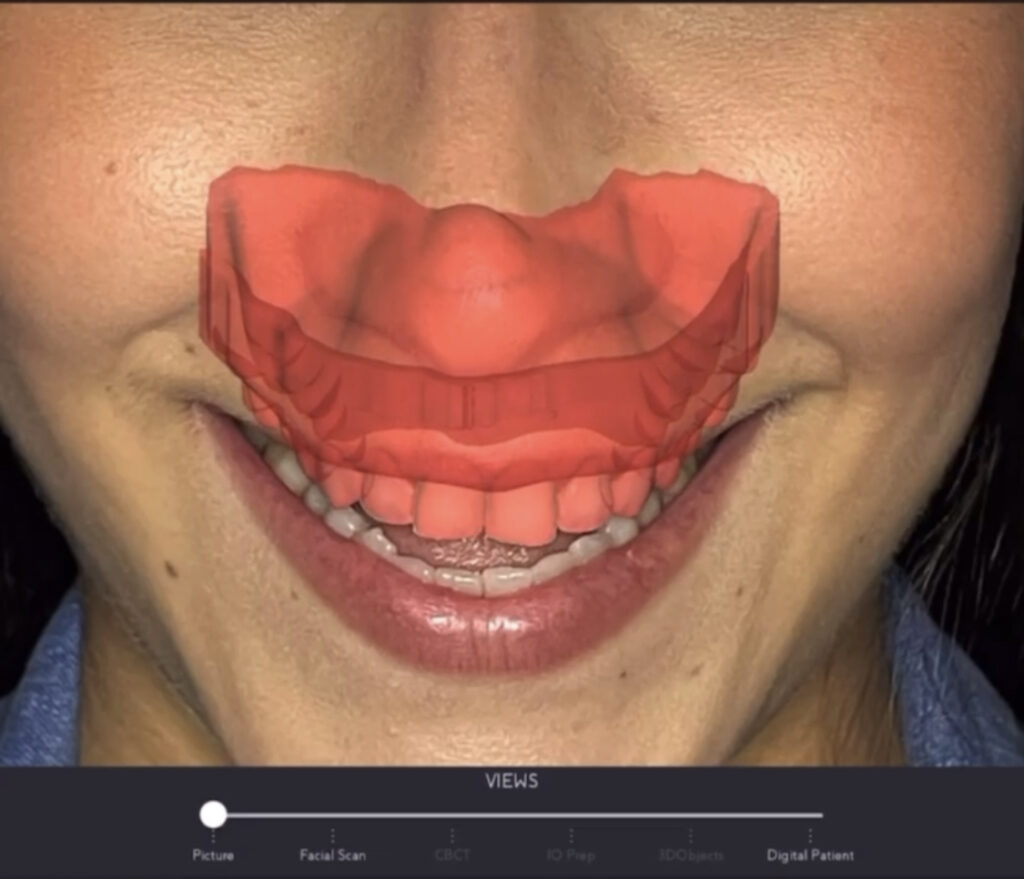
3- IOscan + Photo being merged
To begin the 3D Smile Design project, the patient’s upper intraoral scan (.stl file) was superimposed onto the picture to create the facially-driven design (fig. 3).
5- SmileFy 3D Teeth Library
A mix of 3D natural tooth shapes in the app was selected to create a unique smile for the patient. (Fig.5)
6- 3D wax-up adjustments
The 3D planned design was used as a guide to minimally prepare the teeth to receive the future porcelain veneer restorations by digitally removing the existing teeth of the IOscan that were overhanging the design to allow minimal and controlled tooth reduction. (Fig.6)
8- Initial + 3D design simulator
The SMILEFY 3D Smile simulator makes it easy to visualize the outcome virtually first. And if any corrections need to be made, it can easily be identified and adjusted before printing. (Fig.8)
10- SmileFy Mockup placement + Smile Test
Once the models were 3D printed, A silicon key of the mockup was made. The mold was then filled with bisacryl resin and placed onto the patient’s teeth for a smile test drive. When shown to the patient, she was immediately impressed with the significant difference in the appearance of her smile. She excitedly approved the case as it was what she envisioned her perfect smile to look like. (Fig.10)
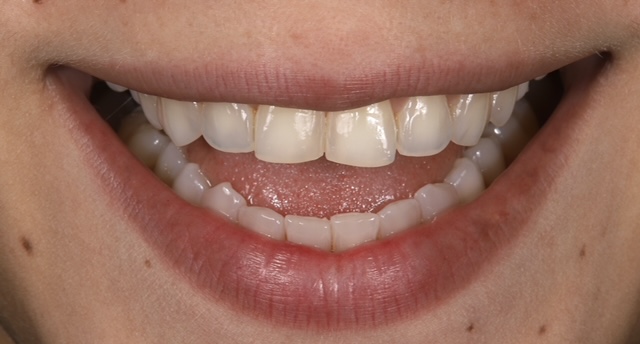
2- Initial Photo
After the patient was clinically evaluated, the patient’s photo and intra-oral scans were taken. Then, to begin the digital planning, Dr. Javier Lapeyra uploaded the files into the SmileFy 3D module to generate a facially driven treatment plan. (2)
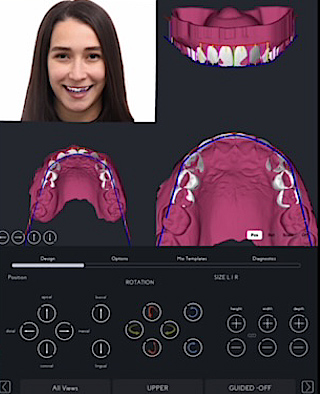
4- Facially generated 3D treatment plan
Since the purpose of the treatment was to create harmony in the patient’s esthetic smile by adding volume to the buccal surface and lengthening the anterior teeth, ,to predetermine the proportion (width and length ratio proportion) and the proper position of the incisal edge, a 3D smile frame was positioned over the IO scan and easily adjusted using the patient’s facial landmarks as a guide to its customization. (Fig.4)
7- SmileFy 3D Natural Design
And digital waxing was applied using the sculpt tool feature to refine the model further. (Fig.7)

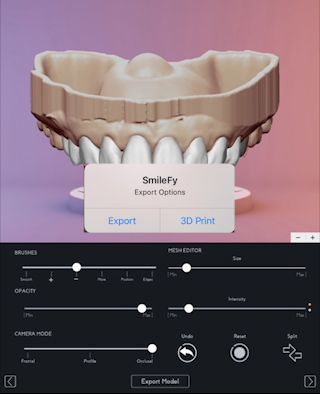
9- Print-ready 3D wax-up
The software automatically prepared the model, making it exportable and print-ready. (Fig. 9)
11- SmileFy 3D Wax-up + Porcelain Veneers
Minor adjustments were made with the mockup in the mouth. (One of the many reasons a smile test drive adds immense value is because it allows the dentist to make the necessary adjustments to perfect the smile)
After making the final adjustments to the occlusion and anterior guidances, the patient was scanned with the mockup to copy the ideal design in the mouth. The scanned mockup was sent to CAD software. Then the teeth were prepped over the mockup design, and ten teeth were minimally prepared to receive the facially driven restorations.
The patient’s mouth was scanned again, and the new scan, in conjunction with the SmileFy 3D design mockup project, was replicated in the CAD software to perform the porcelain veneers. (Fig.11)
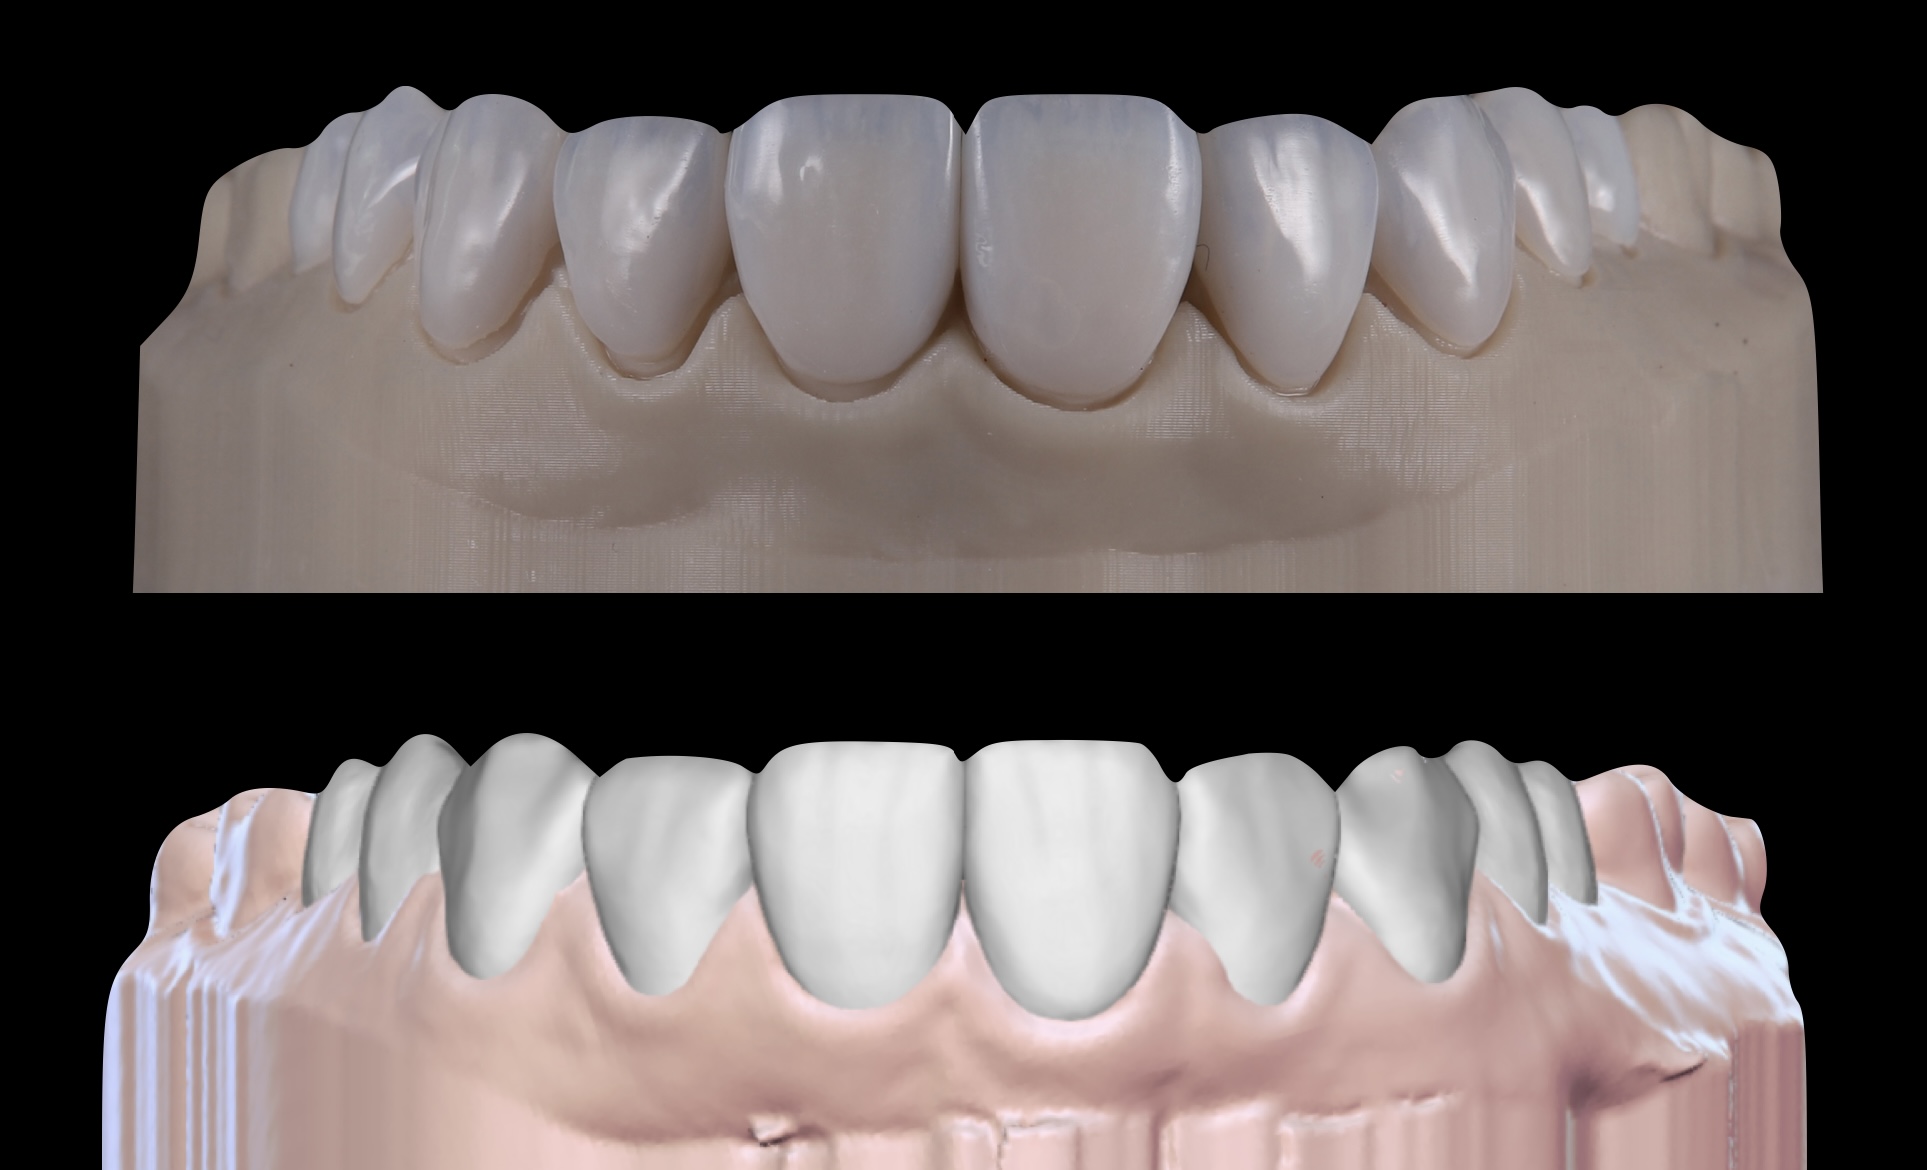
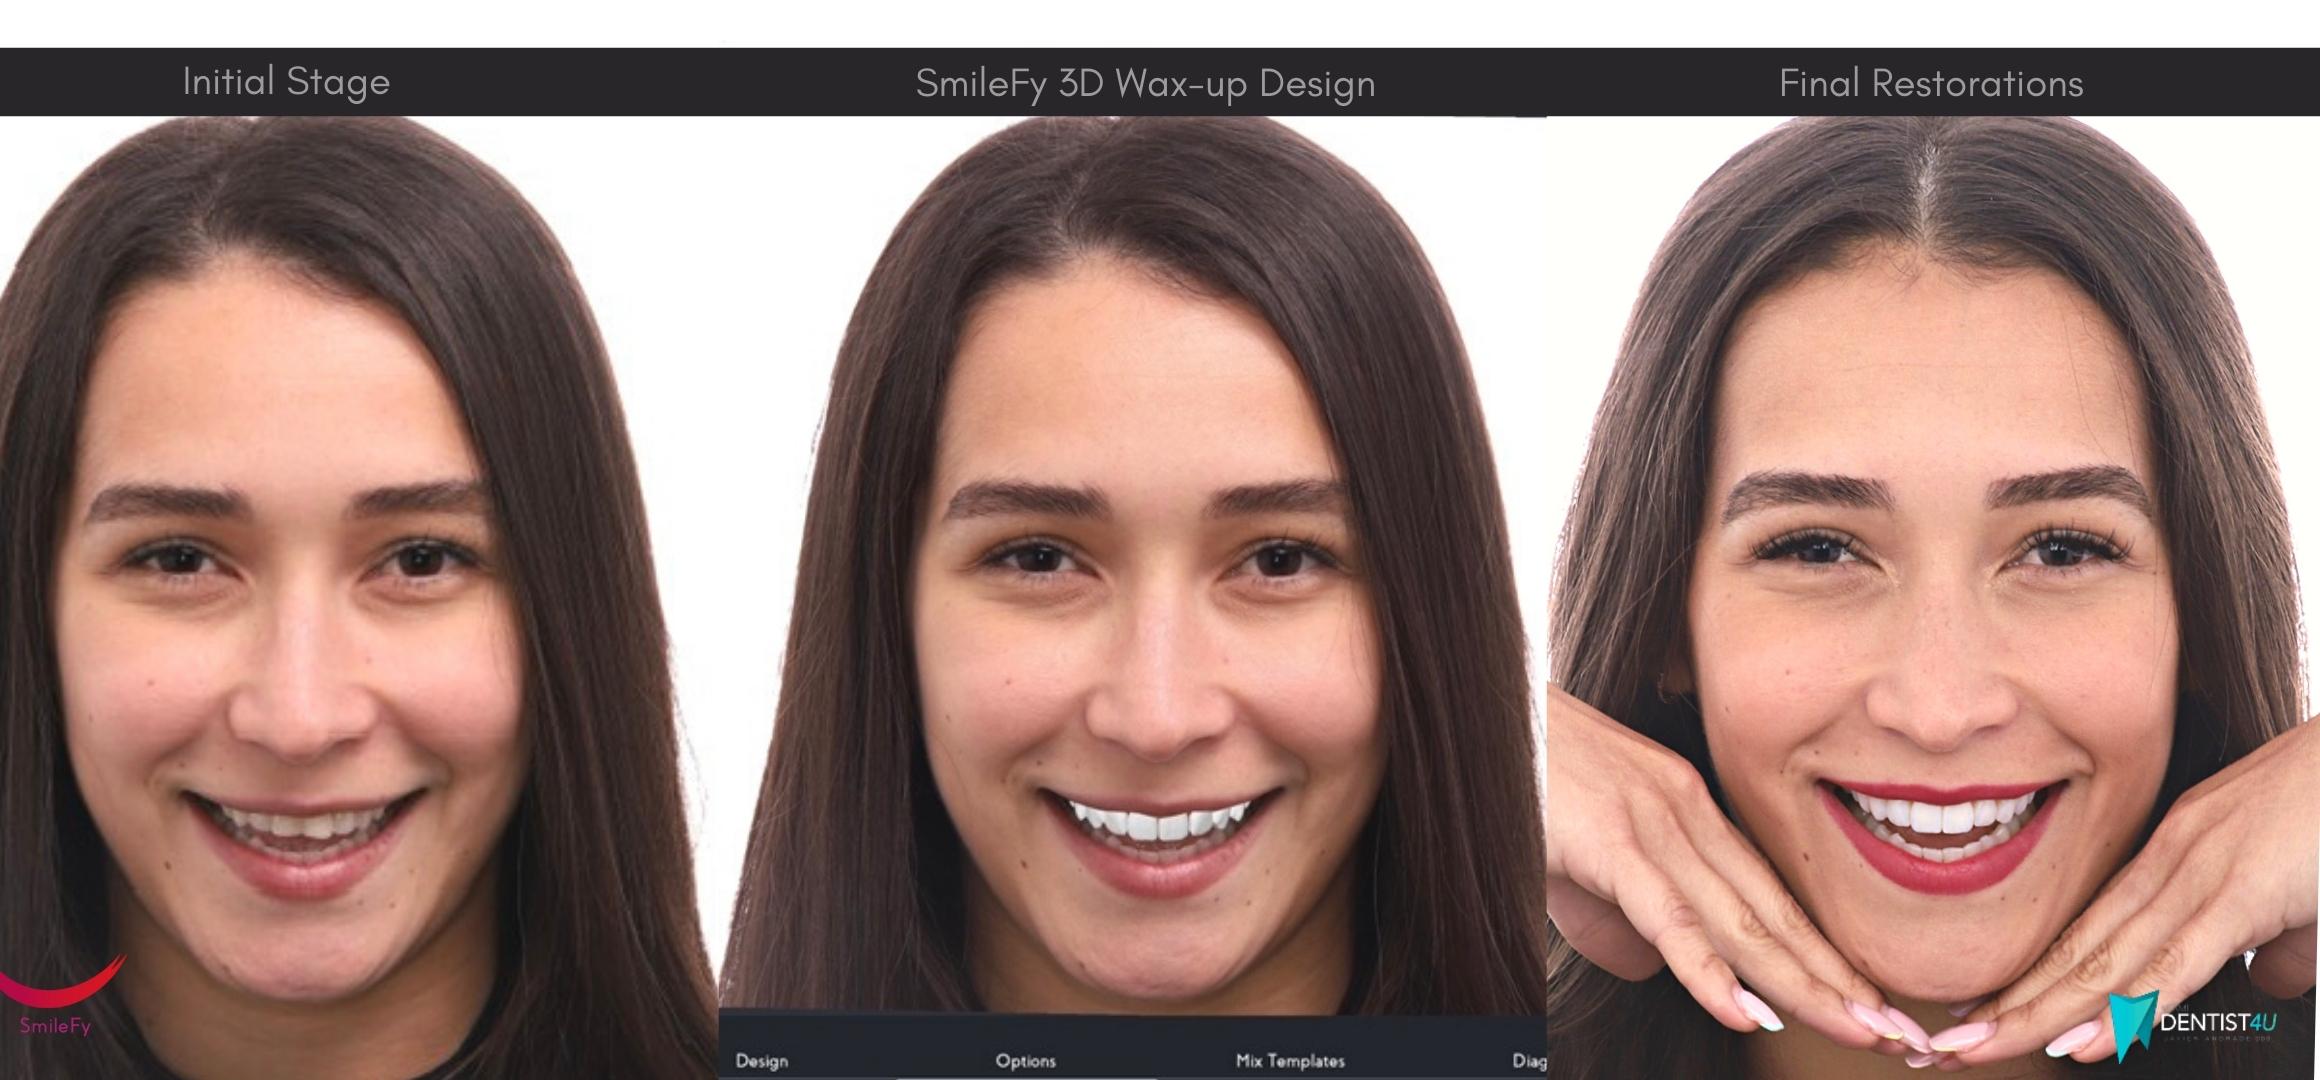
12- Initial + SmileFy 3D wax-up + Final Veneers Restorations
Ten minimally invasive porcelain veneers were placed going from the upper left second premolar to the upper right second premolar harmonizing the patient’s facial esthetics, ultimately resulting in satisfaction. (Fig.12)
Conclusion:
This entire procedure was done during short visits to the dentist’s office. Dr. Javier Lapeyra leverages dental workflow with his in-house 3D dental planning to expedite the turnaround time for such cases. In addition, by using SmileFy, Dr. Lapeyra can have complete control of the cases he originates from and enhance his collaboration with his dental lab from start to finish.