Natural-looking smiles are everything we aim to achieve when we follow the Principles of Smile Design and facially-driven concepts used in SmileFy’s Digital Planning Workflow. It all starts by conducting a facial analysis of your patients to prepare to create an initial smile design of the patient’s future smile.
But what happens if the smile design does not look natural?
Of course we want the first impression to be moving, whether your treatment plan includes restorative changes to 2 teeth or 8, we want to show a notable difference in the aesthetics of the new smile that complement the patient’s facial features.
Defining the “perfect smile” for each patient might look different from dentist to dentist. If you’re not fully satisfied with the AI-generated smile design at first, we recommend considering a few small changes to make it look more “natural” before presenting it to the patient:
1. Is the picture too dark before starting the smile design?
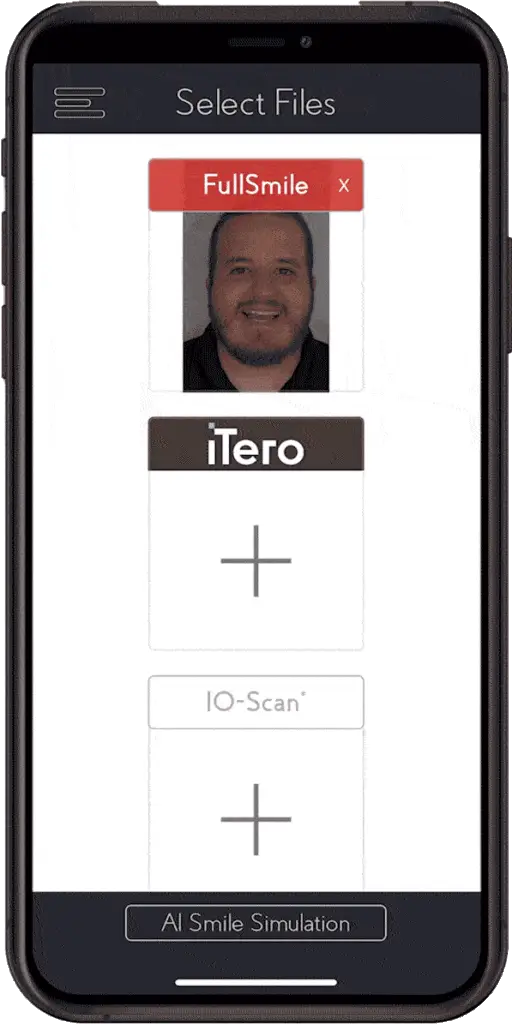
Once you import or take your patient’s picture, you can easily make adjustments by tapping on the picture and triggering the “Edit Picture” pop-up. By clicking on “adjustments” you can improve the lighting and quality of the picture. Additionally you can also crop and rotate the picture as needed. Once you are done with the photo editing, you need to click “done” and proceed with the AI Smile Simulation.
Pro-Tip:
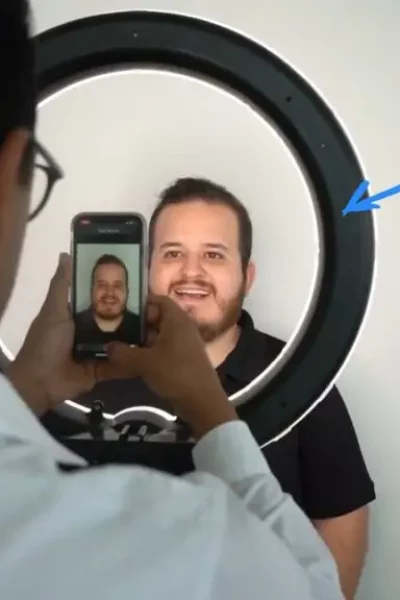
To prevent your picture from being too dark, we highly encourage you to use a ring light. This will ensure proper lighting and minimal adjustments when importing your picture. A DSLR camera is the best option as it reduces distortions. You don’t need a fancy camera to achieve a high quality picture, just the proper lighting, back drop, and proper patient position.
2. Is the lip not covered properly?
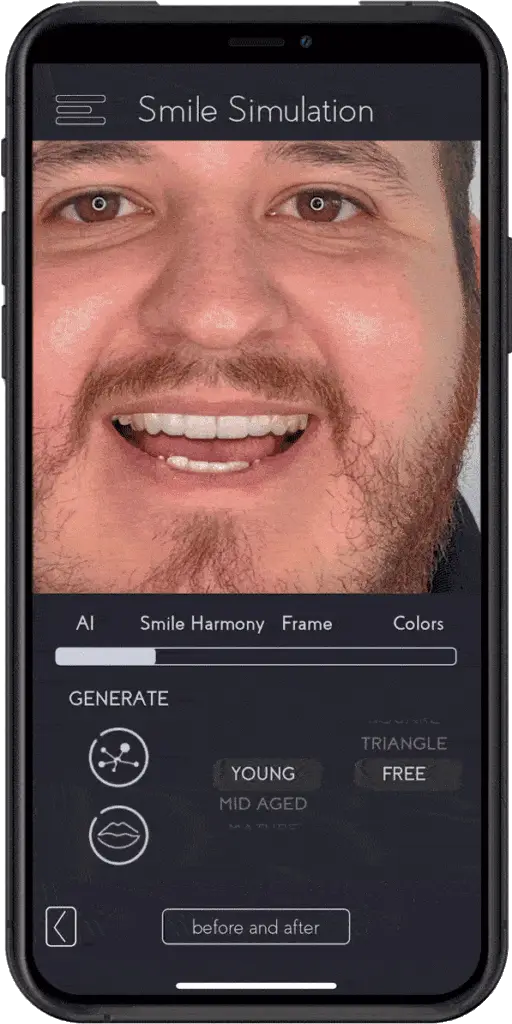
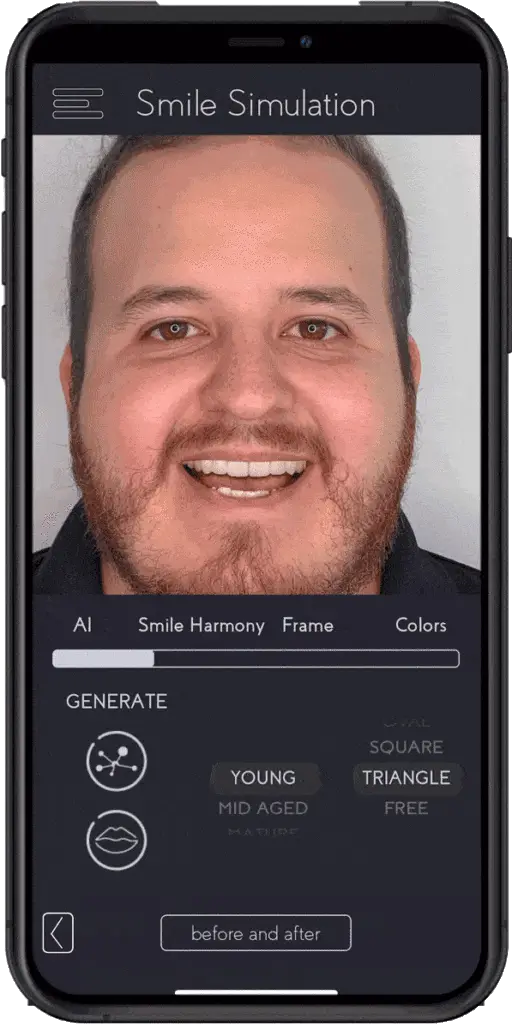
Marking the Lip – The artificial intelligence of the app recognizes and marks the border of your patient’s lip line to give a more realistic smile simulation. If you need to further manipulate the lip selection, tap on the mark lip icon to tweak or re-position the lip line. Tap and drag on the white circular points to maneuver the lip line.
3. Are the teeth too large?
Under the “Frame” section you can re-adjust your smile frame in the ideal position you envision the new smile to be. To further adjust the length of the teeth, use the “Height” feature which allows you to decrease and increase the size of the teeth.
4. How do I change the amount of teeth I am planning on my design ?
Also Under the “Frame” section you can select the number of teeth that you want to show when your patient is smiling .
No. Teeth will allow you to select the number of teeth to display on your design. You can choose from 4 to 12 teeth.
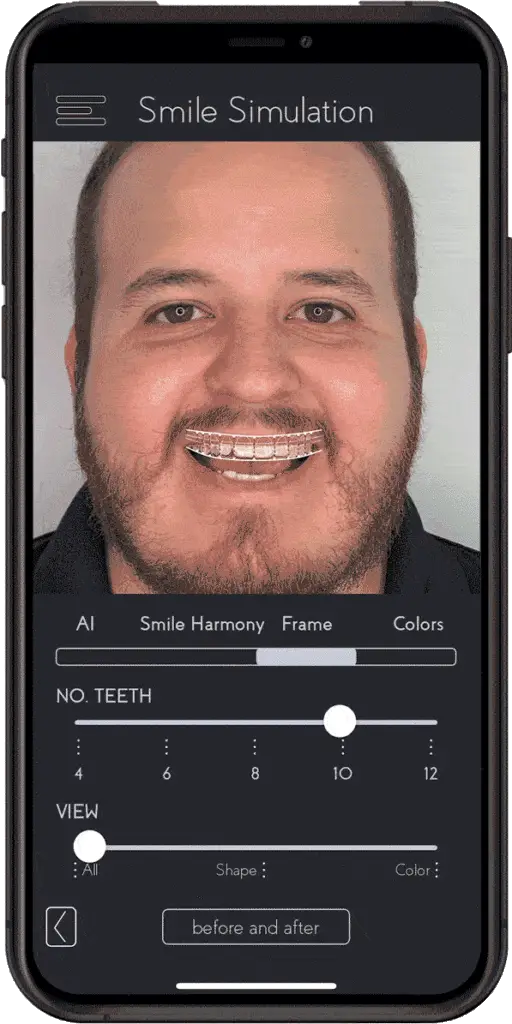
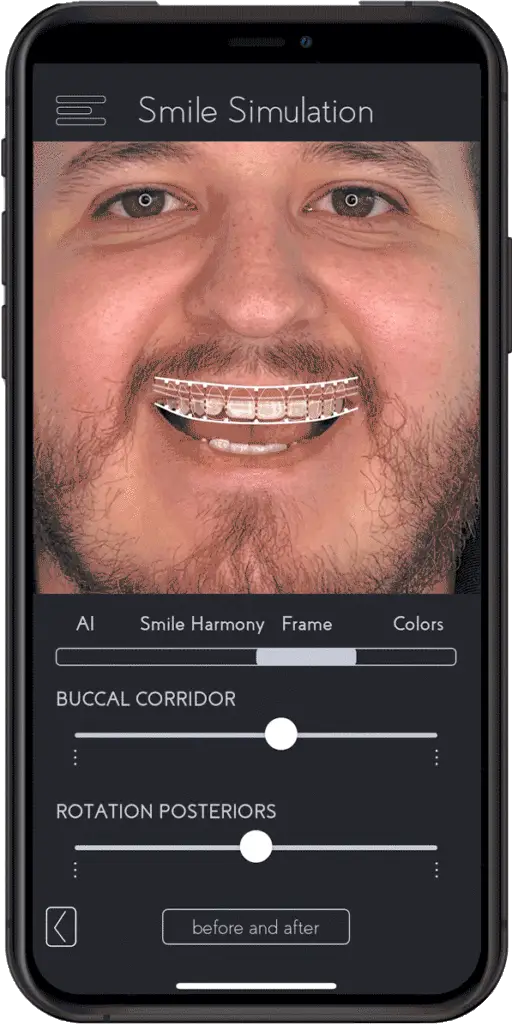
5. How to adjust the posterior teeth to define a proper buccal corridor?
Under the “Frame” section The Buccal Corridor sets the premolars and molars’ position to give a narrower or a wider smile.
6. Are the teeth too white?
Under the “Colors” section of the app’s features there are ample options that allow you to modify the coloration of the smile design. Once you select the shade you like the most for your patient, you can continue perfecting it by adjusting the warmth, brightness, and saturation
To learn how Integrating Digital Smile Planning into your Dental Routine can help you transform the way you preform dentistry. Watch the Replay of our last webinar with Dr. Diogo Alves.
Have a question for us? Email us at support@smilefy.com so we can better assist you!
