It is no secret that smile designs add value to your treatment planning as they provide additional perspective when evaluating a patient’s oral and facial structures for cosmetic dental procedures.
However, in order to yield the best possible outcomes in your smile designs, photographs of your patients need to be clear and taken from the right angles.
If this is the first impression your patient will see of their possible esthetic outcome, we want to nail that shot! Typical errors have a lot to do with the quality in the frontal picture. To name a few:
- The picture is zoomed in too close
- The picture is too dark
- The picture has a shadow reflected in the patient’s mouth
- The picture is not focused
- The picture does not show the teeth completely
Luckily, we’ve outlined tips and how-to’s you can use from your iPhone’s camera and room setup that will help you take the best photo for your documentation. Let’s take a look at what these are:
1. Setting up your photo room
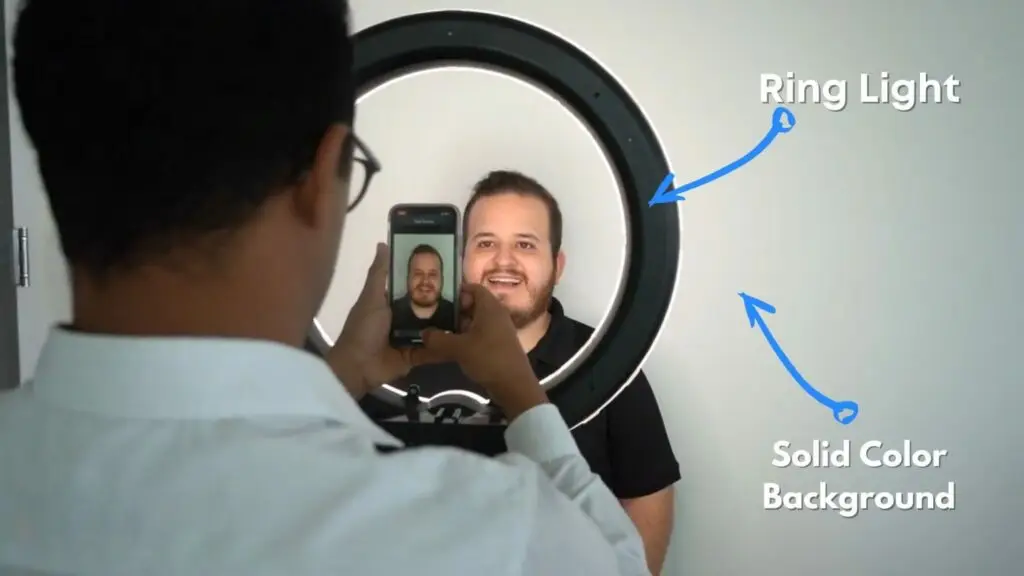
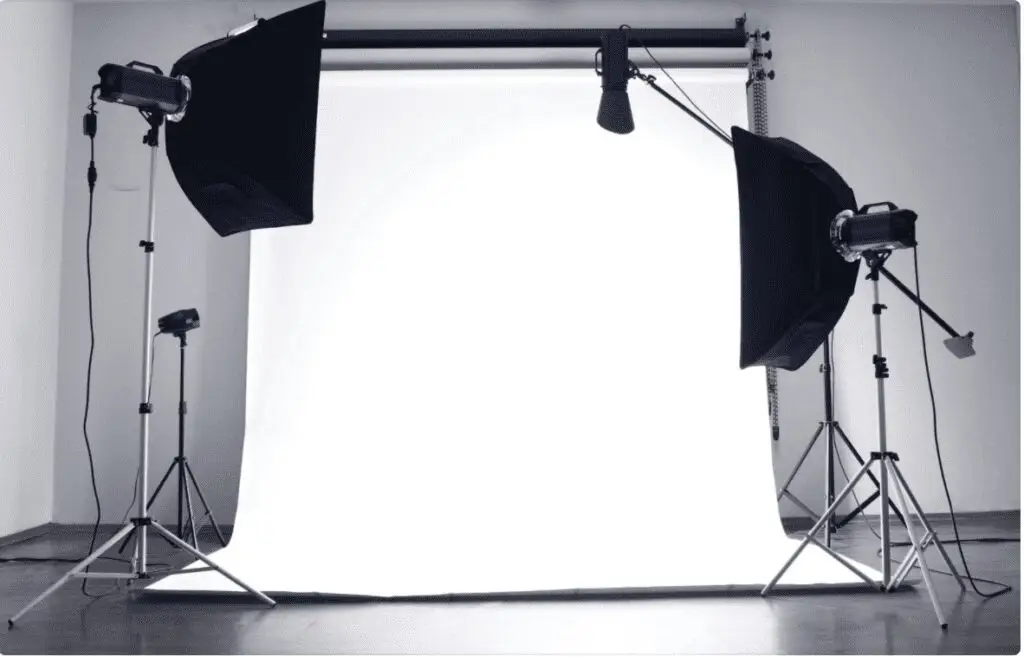
Whether you have a designated room or a small space to take photographs of the patient, below is an example of the ideal space setup. A solid color background and dimmable softbox can immediately improve the quality of the photos and adds a level of sophistication and care to the patient’s experience.
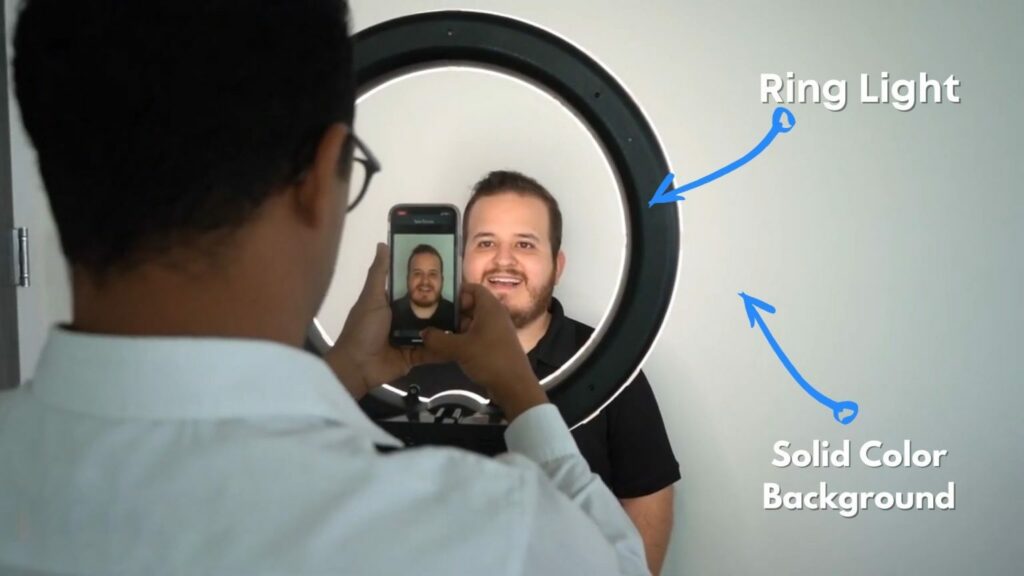
A dimmable ring light and a solid colored background (or wall) can also provide a similar effect in smaller spaces which you can place next to your dental chair for example.
2. Talk to your patient to make them feel comfortable
Rule number one in dental photography, you must make your patient feel comfortable. Although the facial pictures do not take long, if the patient is uncomfortable, they will turn down this step leaving you with a missed opportunity at exciting them with a smile simulation of their possible esthetic outcome.
Additionally, before taking pictures, explain to them your process. An example: “these photos will give me additional insight into your current smile so that I can develop a natural-looking smile that suits you best.”
Words of encouragement, such as, “really nice!,” “give me a big smile,” and “great job!” Little things like this go a long way and make them feel more comfortable when in front of the camera.
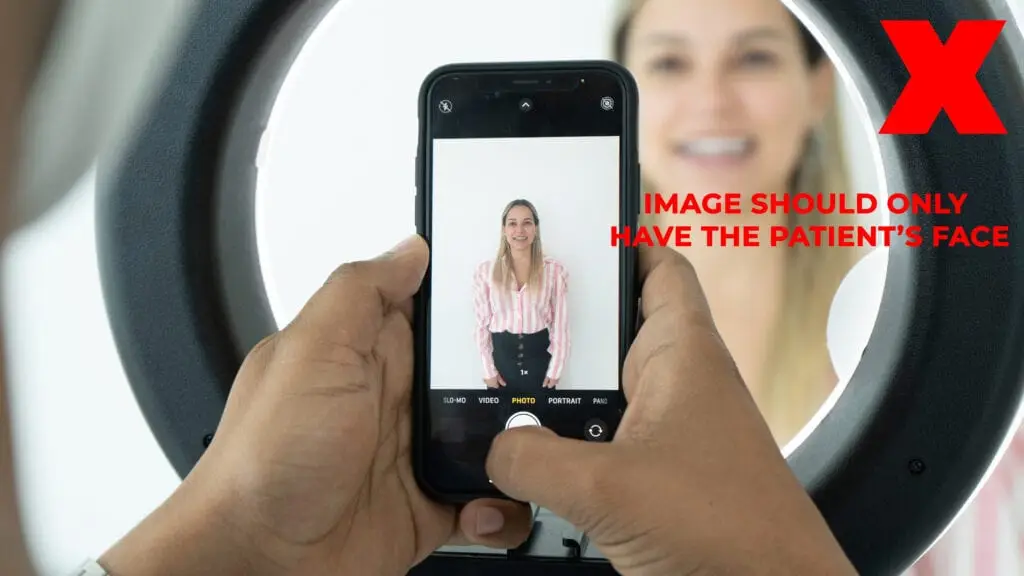
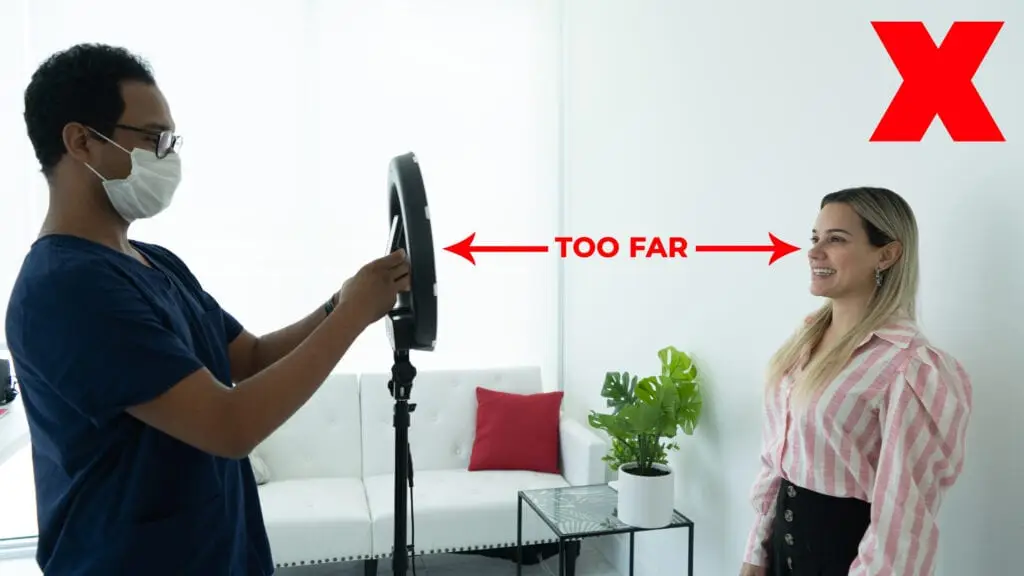
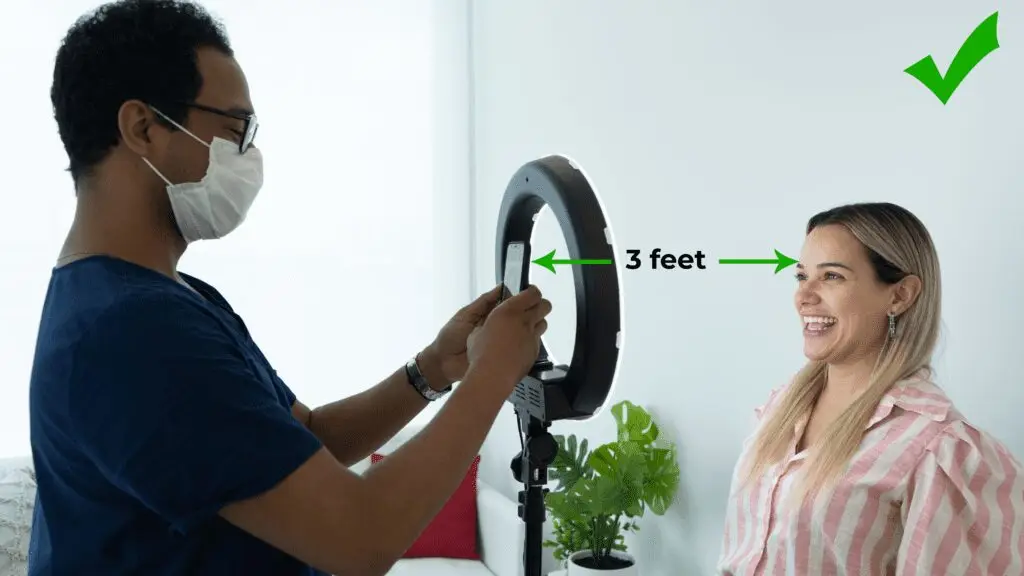
Pro Tip: Stay about 3 feet away from your patient when taking the picture (personal space is a thing and nobody likes a camera right in their face). Don’t stand too far back as this will create distortion in the picture.
3. Check the lighting
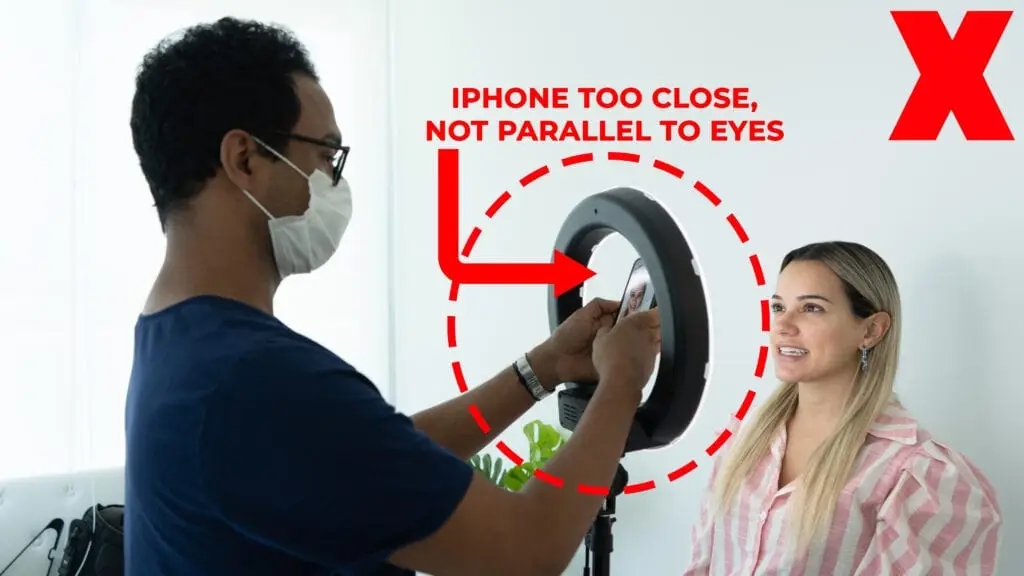
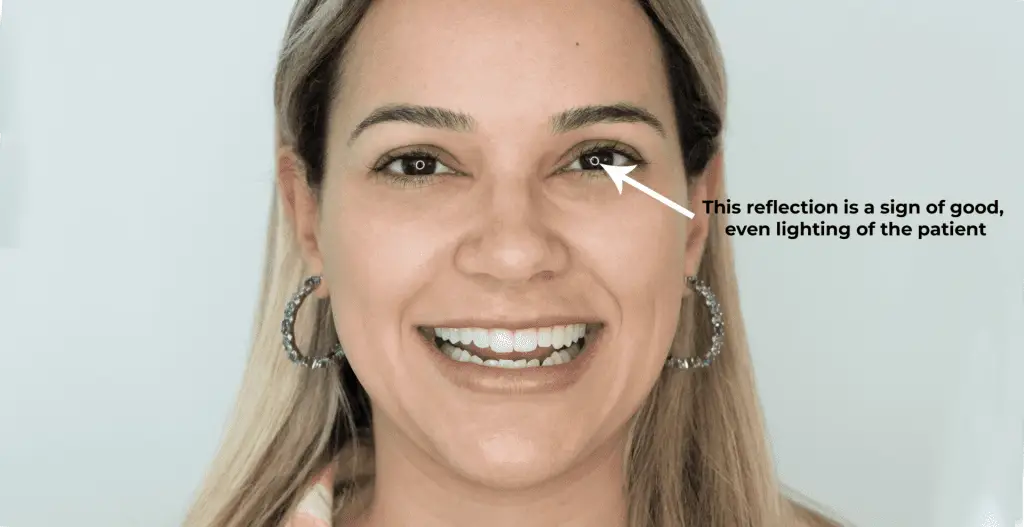
Lighting is very important to the quality of your photo, for that reason, make sure you evenly light the patient as we portrayed below using a ring light. Try to keep the intensity of the light comfortable for the patient, a good rule of thumb is that if you can see the ring from the light reflected in your patient’s eyes it should be bright enough for the picture. It doesn’t have to be very bright but just enough to be noticeable.

4. Zoom With The 2x Telephoto Lens
SmileFy is compatible with iPhone 7 Plus or newer versions. These provide two types of lenses you can use for your pictures. The “1x” you see on your iPhone’s screen when you open your camera is called the “wide angle” lens and it’s mostly helpful when taking pictures from a distance. If you take a frontal picture of your patient with the “1x wide angle” lens, you can produce a “barrel distortion” commonly portrayed when photos are taken with the “fisheye” lens. The closer you are to the patient’s face, the more apparent this distortion will be and less accurate your design will become as the patient’s smile in the photo won’t have the right dimensions.
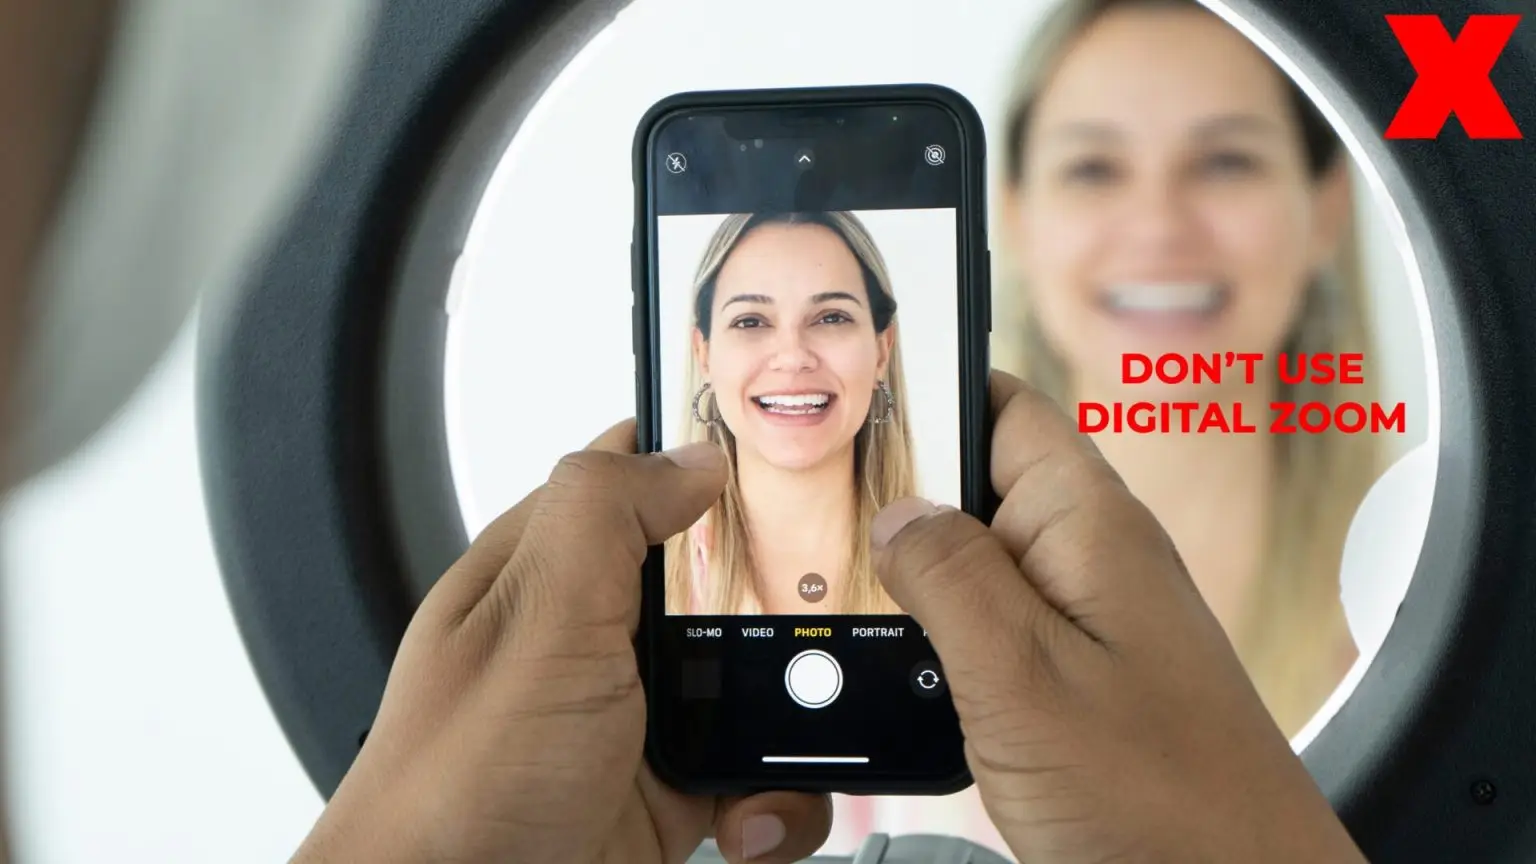

Switching to the iPhone’s “2x” telephoto lens will eliminate the barrel distortion and the “fisheye” so your portrait photos will have more accuracy to the real measures. Do not use the pinch motion to zoom as it will degrade the quality of the image. This is known as a “digital zoom” when you go past what your camera is rated for. It also means that you won’t have to hold the camera too close to the patient’s face (remember, stand about 3 feet away, or about 1 meter away, from your patient).
Position your patient standing up straight, with no hats or glasses, and hair tucked behind the ears. In a room with great lighting, frame the patient’s face inside the screen of your iPhone eliminating shoulders.
To prevent distortions on the smile curve of the patient’s current conditions, level the lens of the camera to the eyes of your patient and make sure that your iPhone is straight. Looking at the lens of the camera, ask your patient to give a big wide smile, with the mouth slightly open.
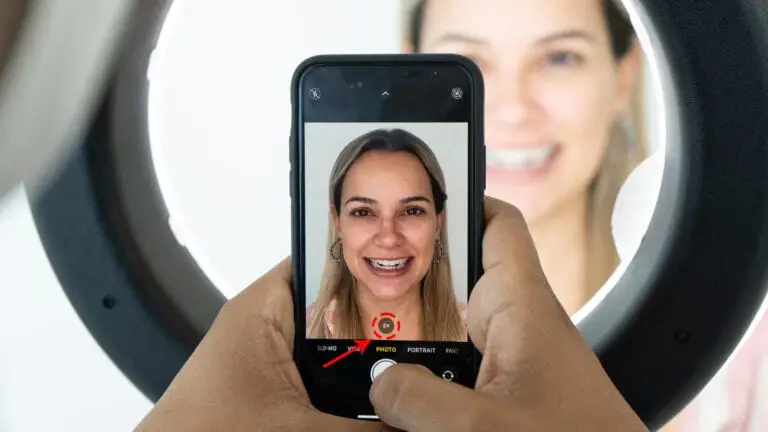
Practice makes perfect. Small modifications can make a monumental difference in your smile design but like any other piece of technology, the more you do, the better you get, and the more patients you WOW.
